

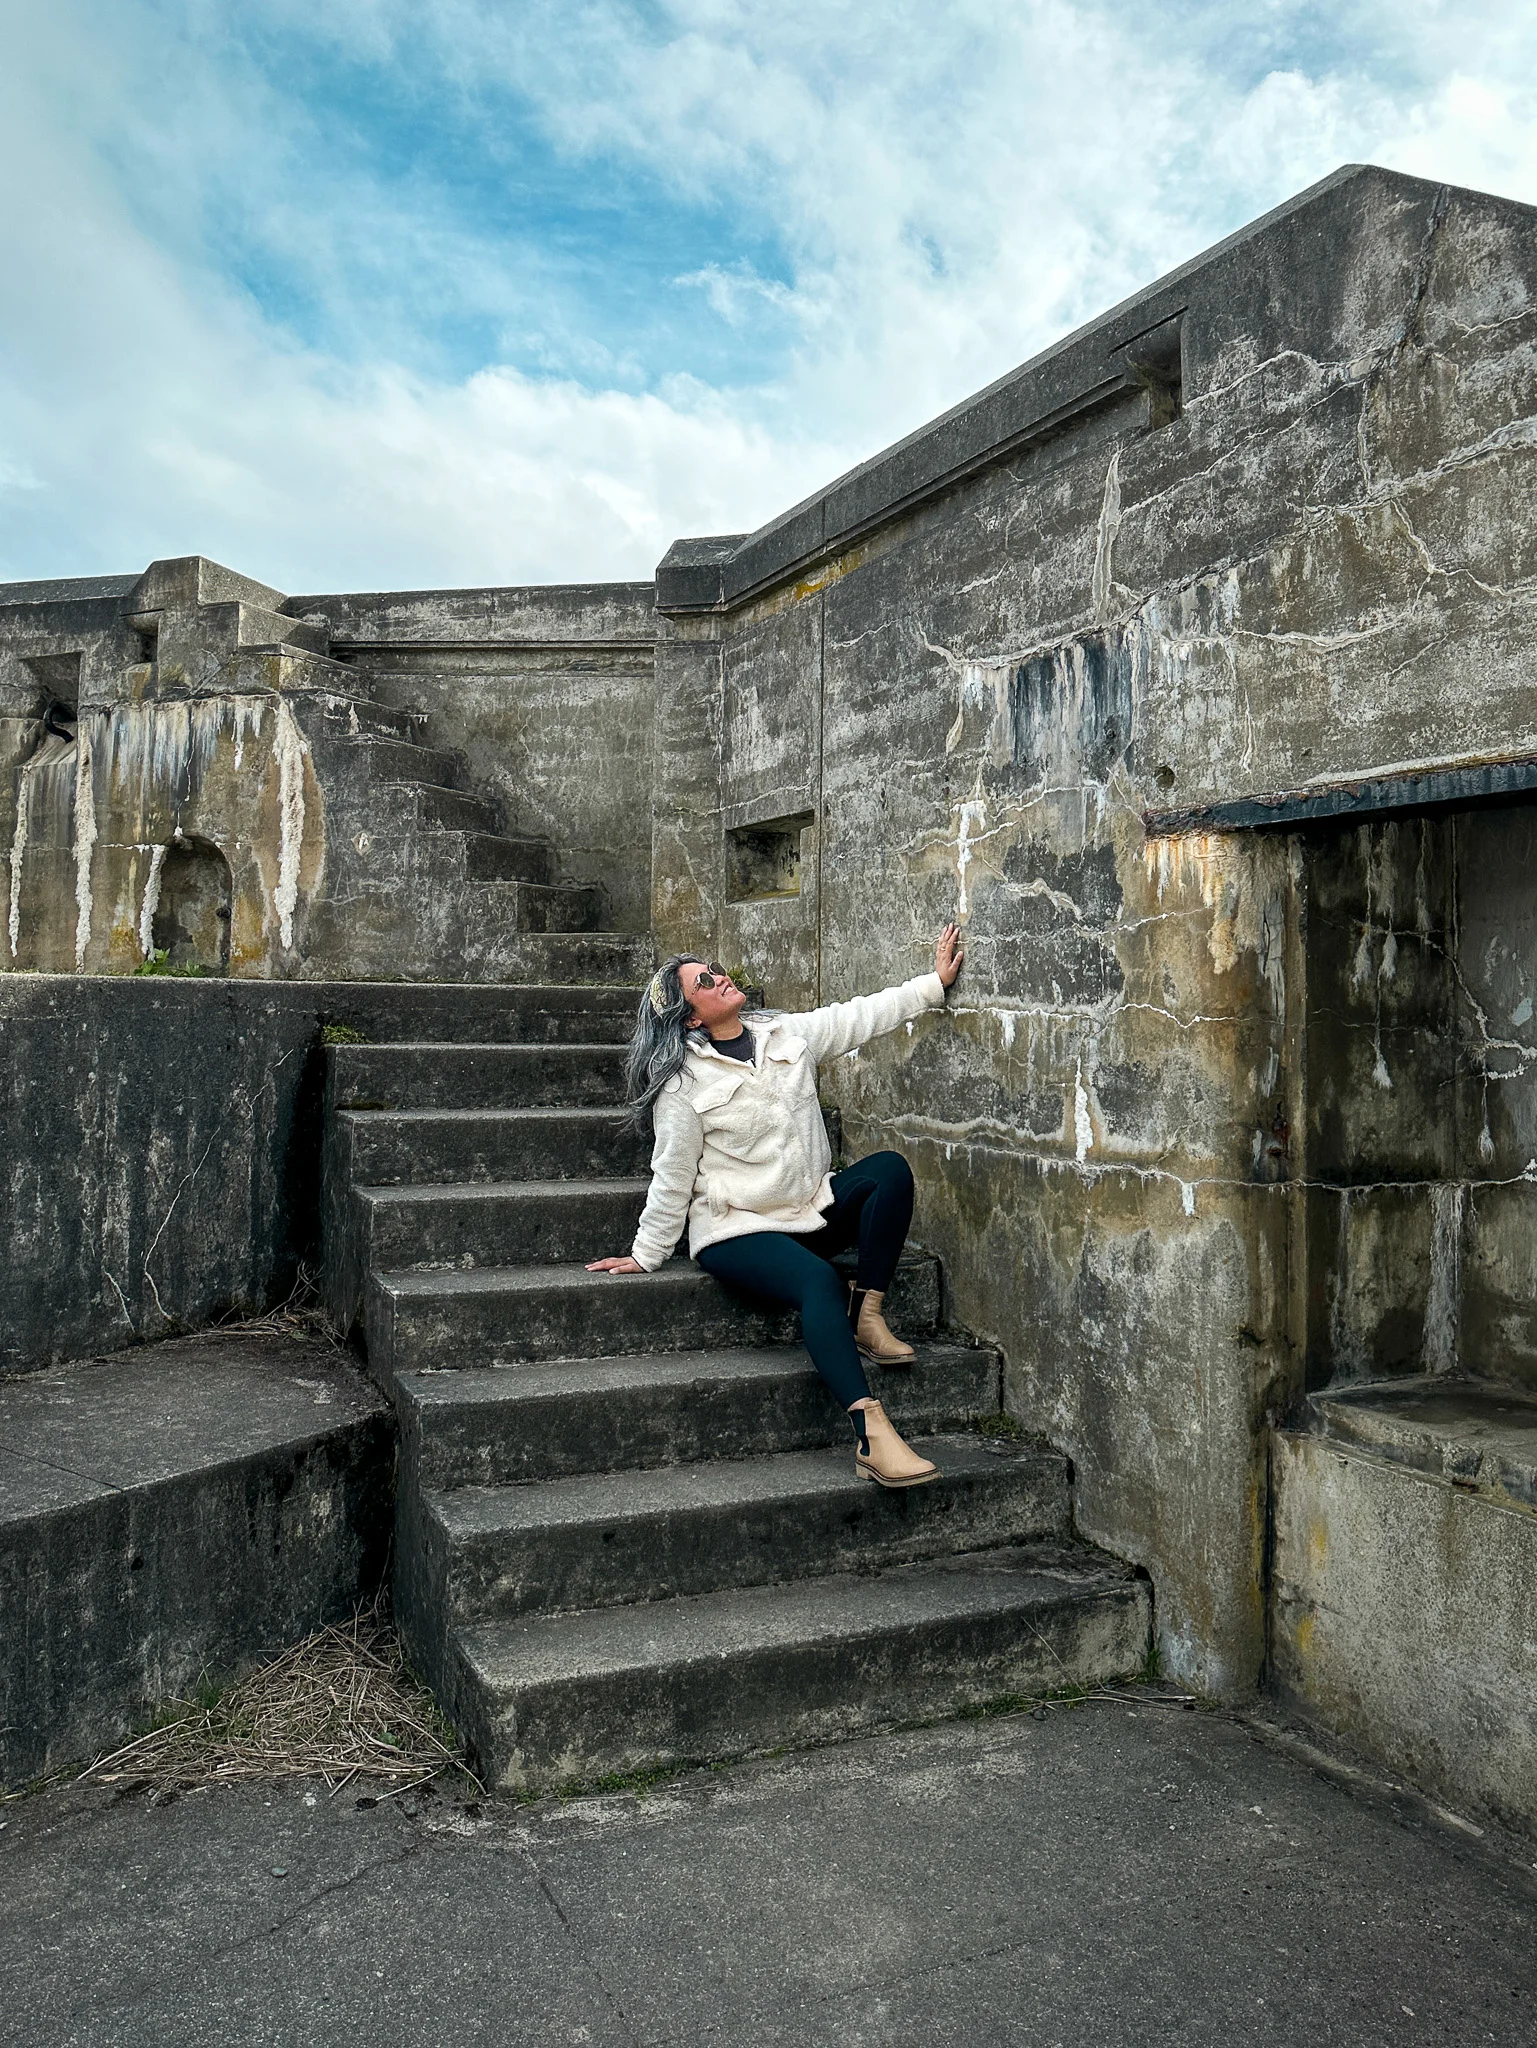
Fort Casey Historic State Park in Washington
Disclaimer: This post was sponsored by Pocket Tripod Pro. All thoughts and opinions are mine and 100% honest.
Ever wonder how bloggers and influencers take such beautiful photos?
Many of us use a good blend of camera and phone photography. You’ll see examples of that throughout our blog and Instagram accounts.
With a camera, you need to make sure you have the right lens to capture everything you need. You also need to know how to use and understand camera settings to get the best images.
Luckily, with phones, you have basically everything you need in the palm of your hand to create just as impressive photos wherever you go.
Below, we’ll share our best tips on how you can take amazing photos with only your mobile phone!
How to Take Amazing Phone Photos
#1 Composition is Key
If you see a setting that is absolutely breathtaking, stop there. Notice what objects within the setting are prominent and how the rest of the setting complements those objects.
Photo composition is how a photographer arranges visual elements within their frame.
There are many techniques but the ones that we love and use most are centered composition (subject in the middle) and the rule of thirds (the subject is in one-third of the frame).
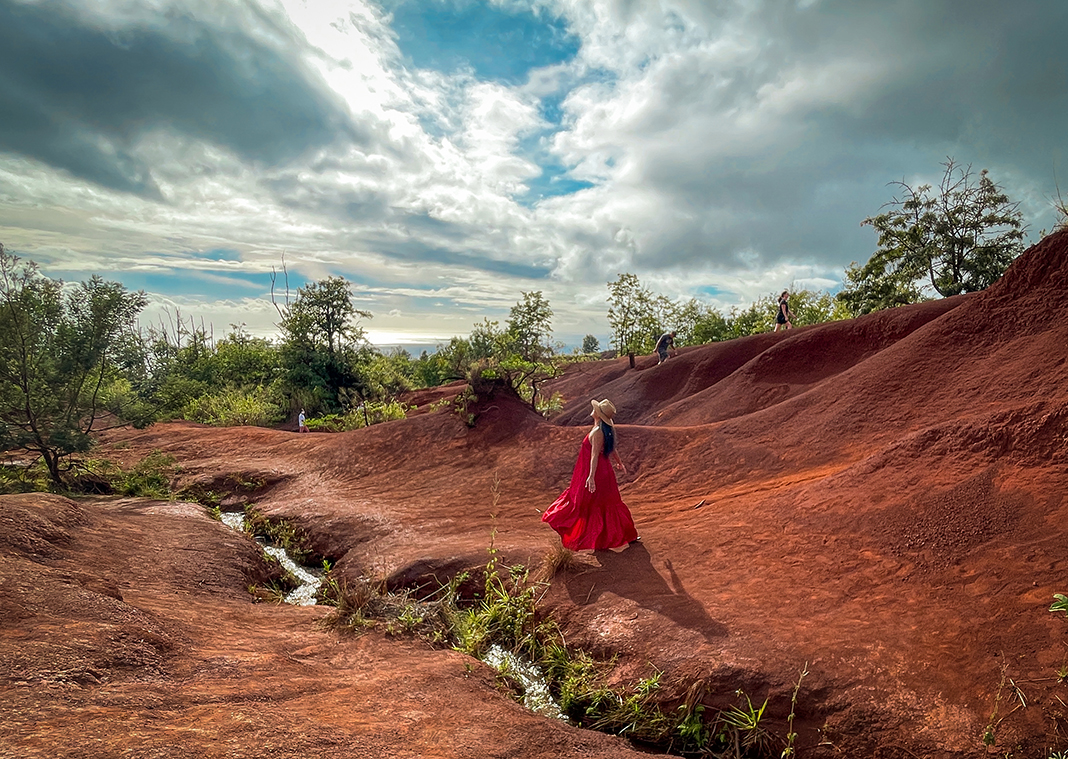

Rule of Thirds (Red Dirt Waterfall in Kauai, Hawaii)
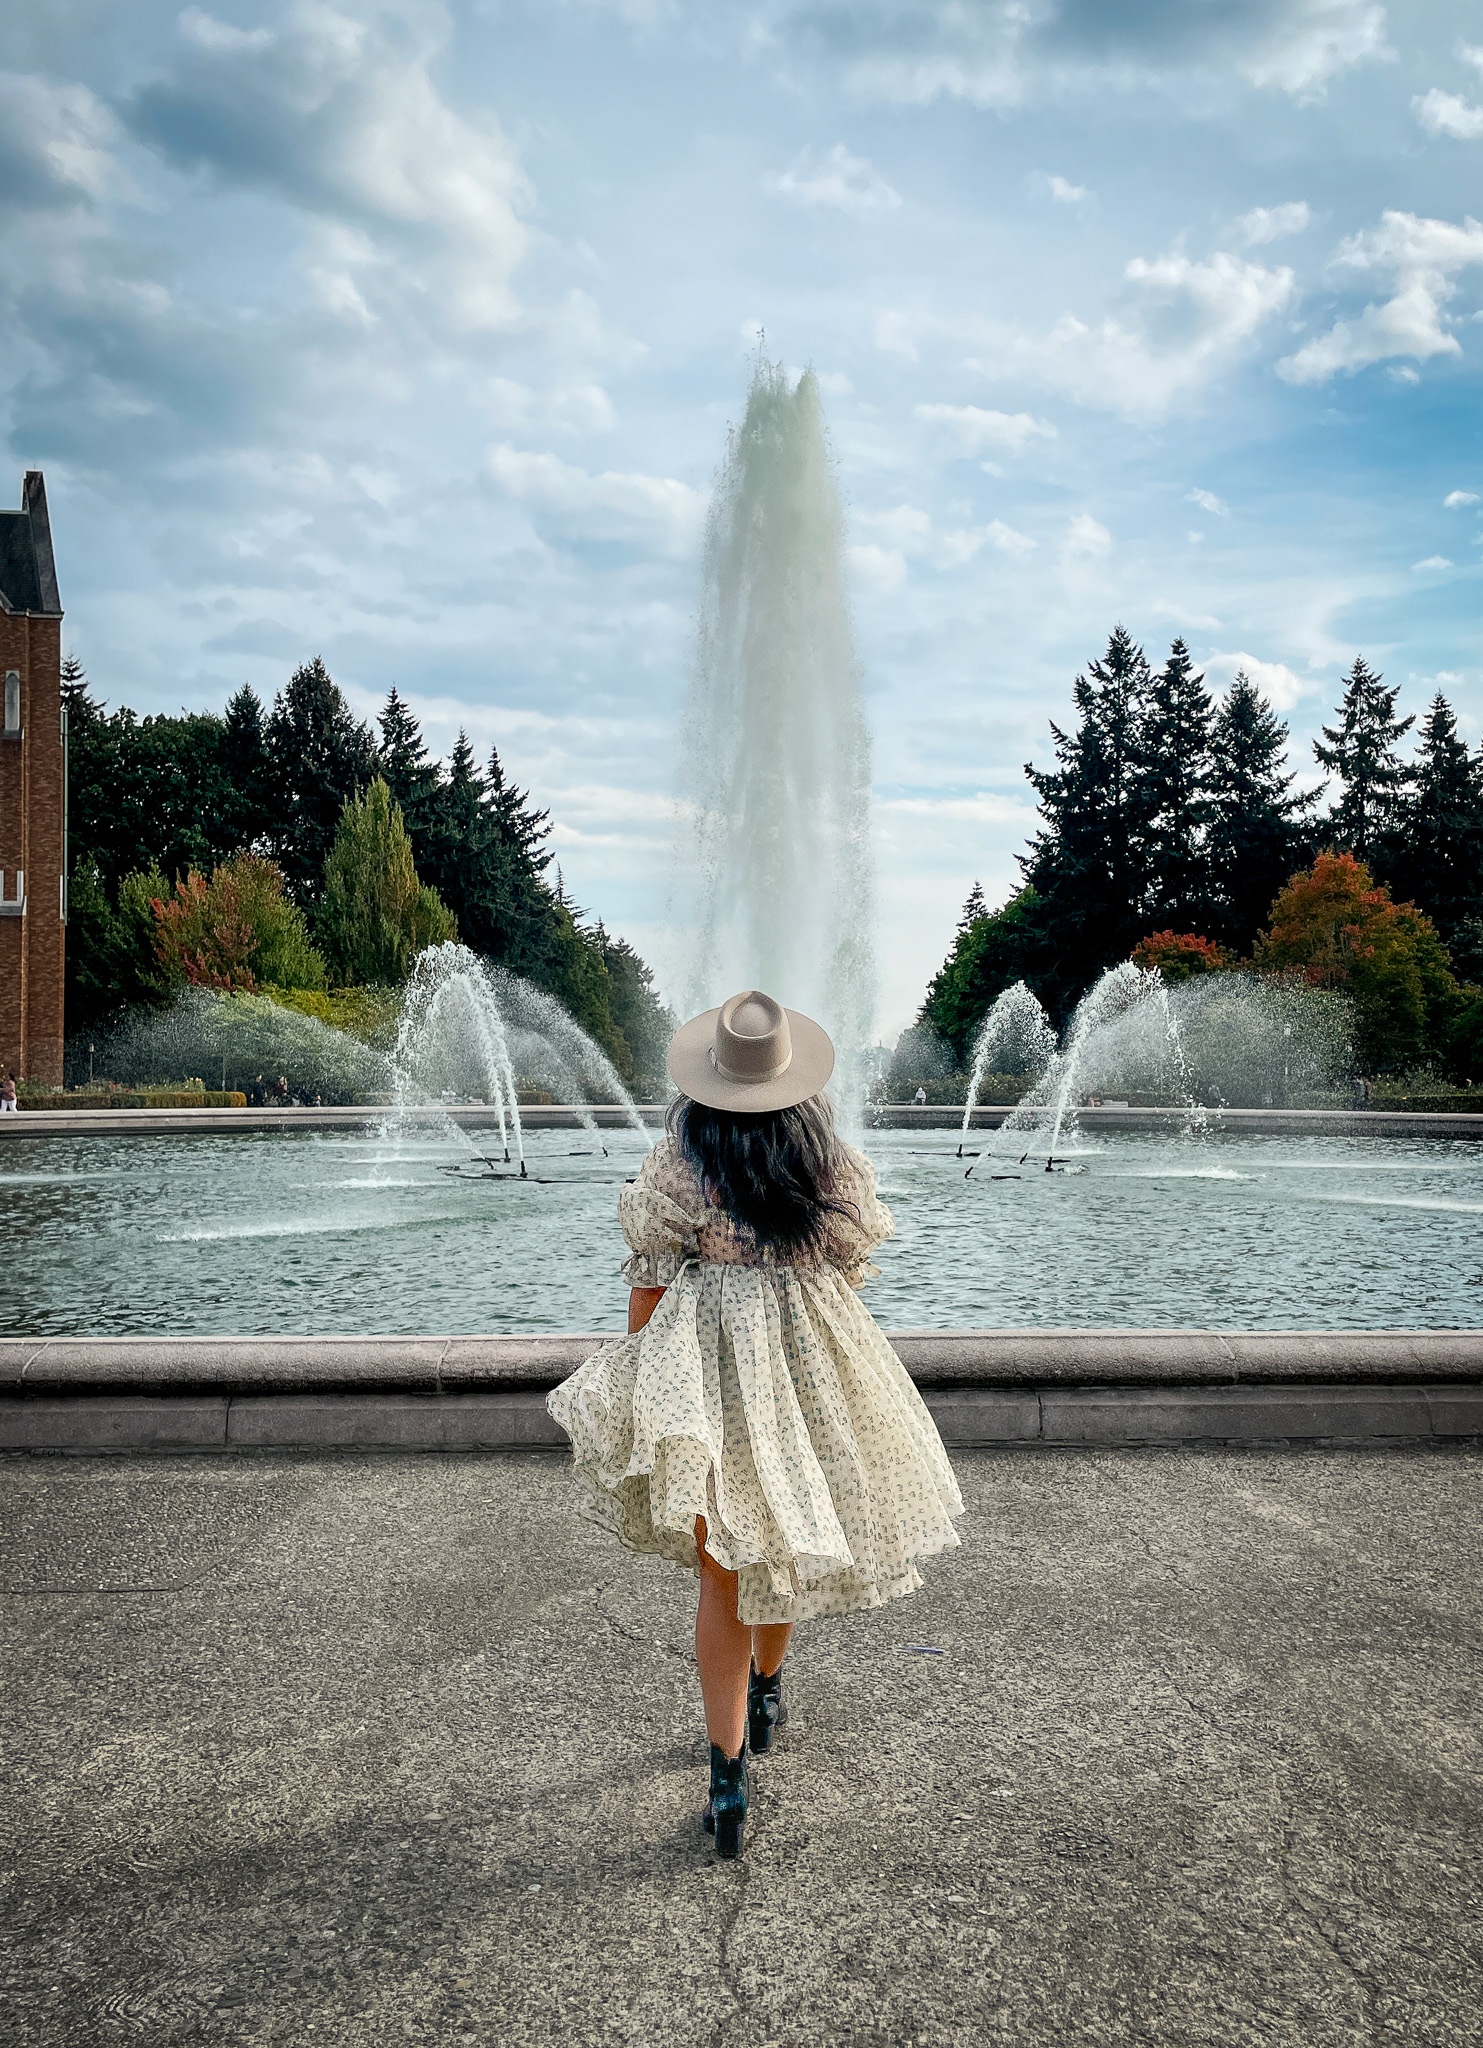

Centered Composition (University of Washington water fountain)
#2 Don’t Be Afraid to Ask for Help
If you’re going somewhere solo, don’t be afraid to ask a stranger to snap a photo for you. It’s also considerate to reciprocate the favor for them. On my solo travel journeys, I have made friends this way!
People are usually more willing to help than not. And if someone says, no, try again!
#3 Use a Pocket Tripod Pro
Having the right tools makes all the difference. As a minimalist traveler, I love to pack with one carry-on and a backpack.
The Pocket Tripod Pro has come in handy in so many ways! It is a tripod that folds flat into the size of a credit card. It can be used to take photos and videos, stand your phone up as you video chat with friends and family, or watch movies and videos.
#4 Frame Your Image
Use vanishing points and actual frames (think doorframes, square spaces, or columns) to help frame your images. Stand in the vanishing point or between frames or columns to make the subject stand out.
Below, we used the vanishing point of the umbrella street and waited for people to move further into the background before snapping the photo.
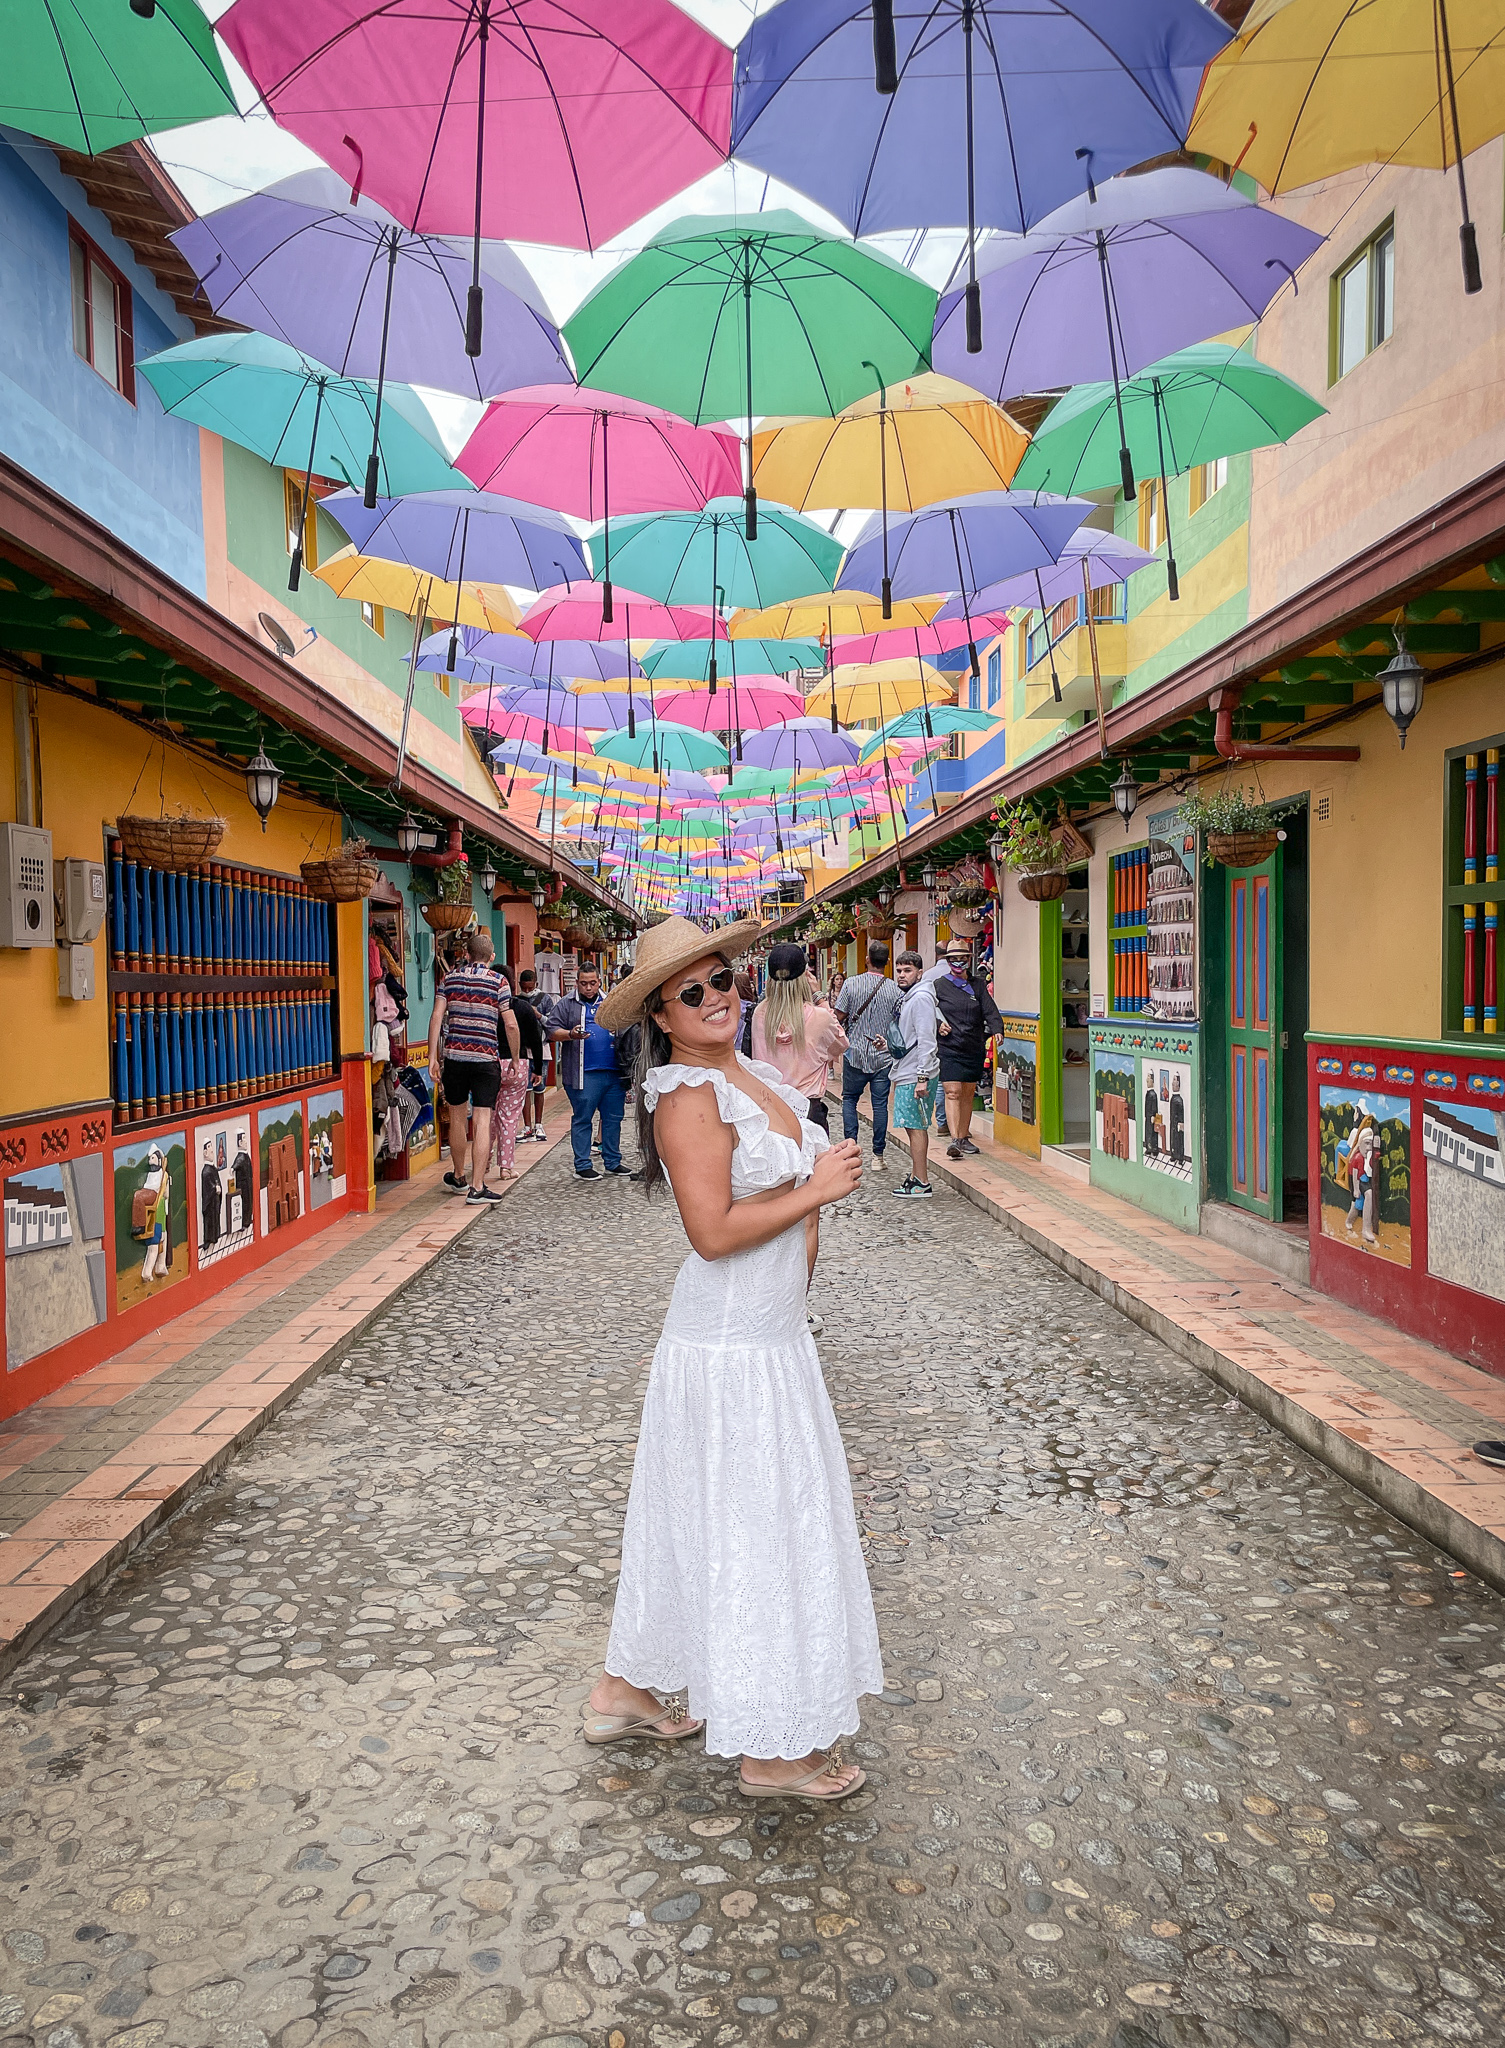

Colorful umbrella street in Guatape, Colombia

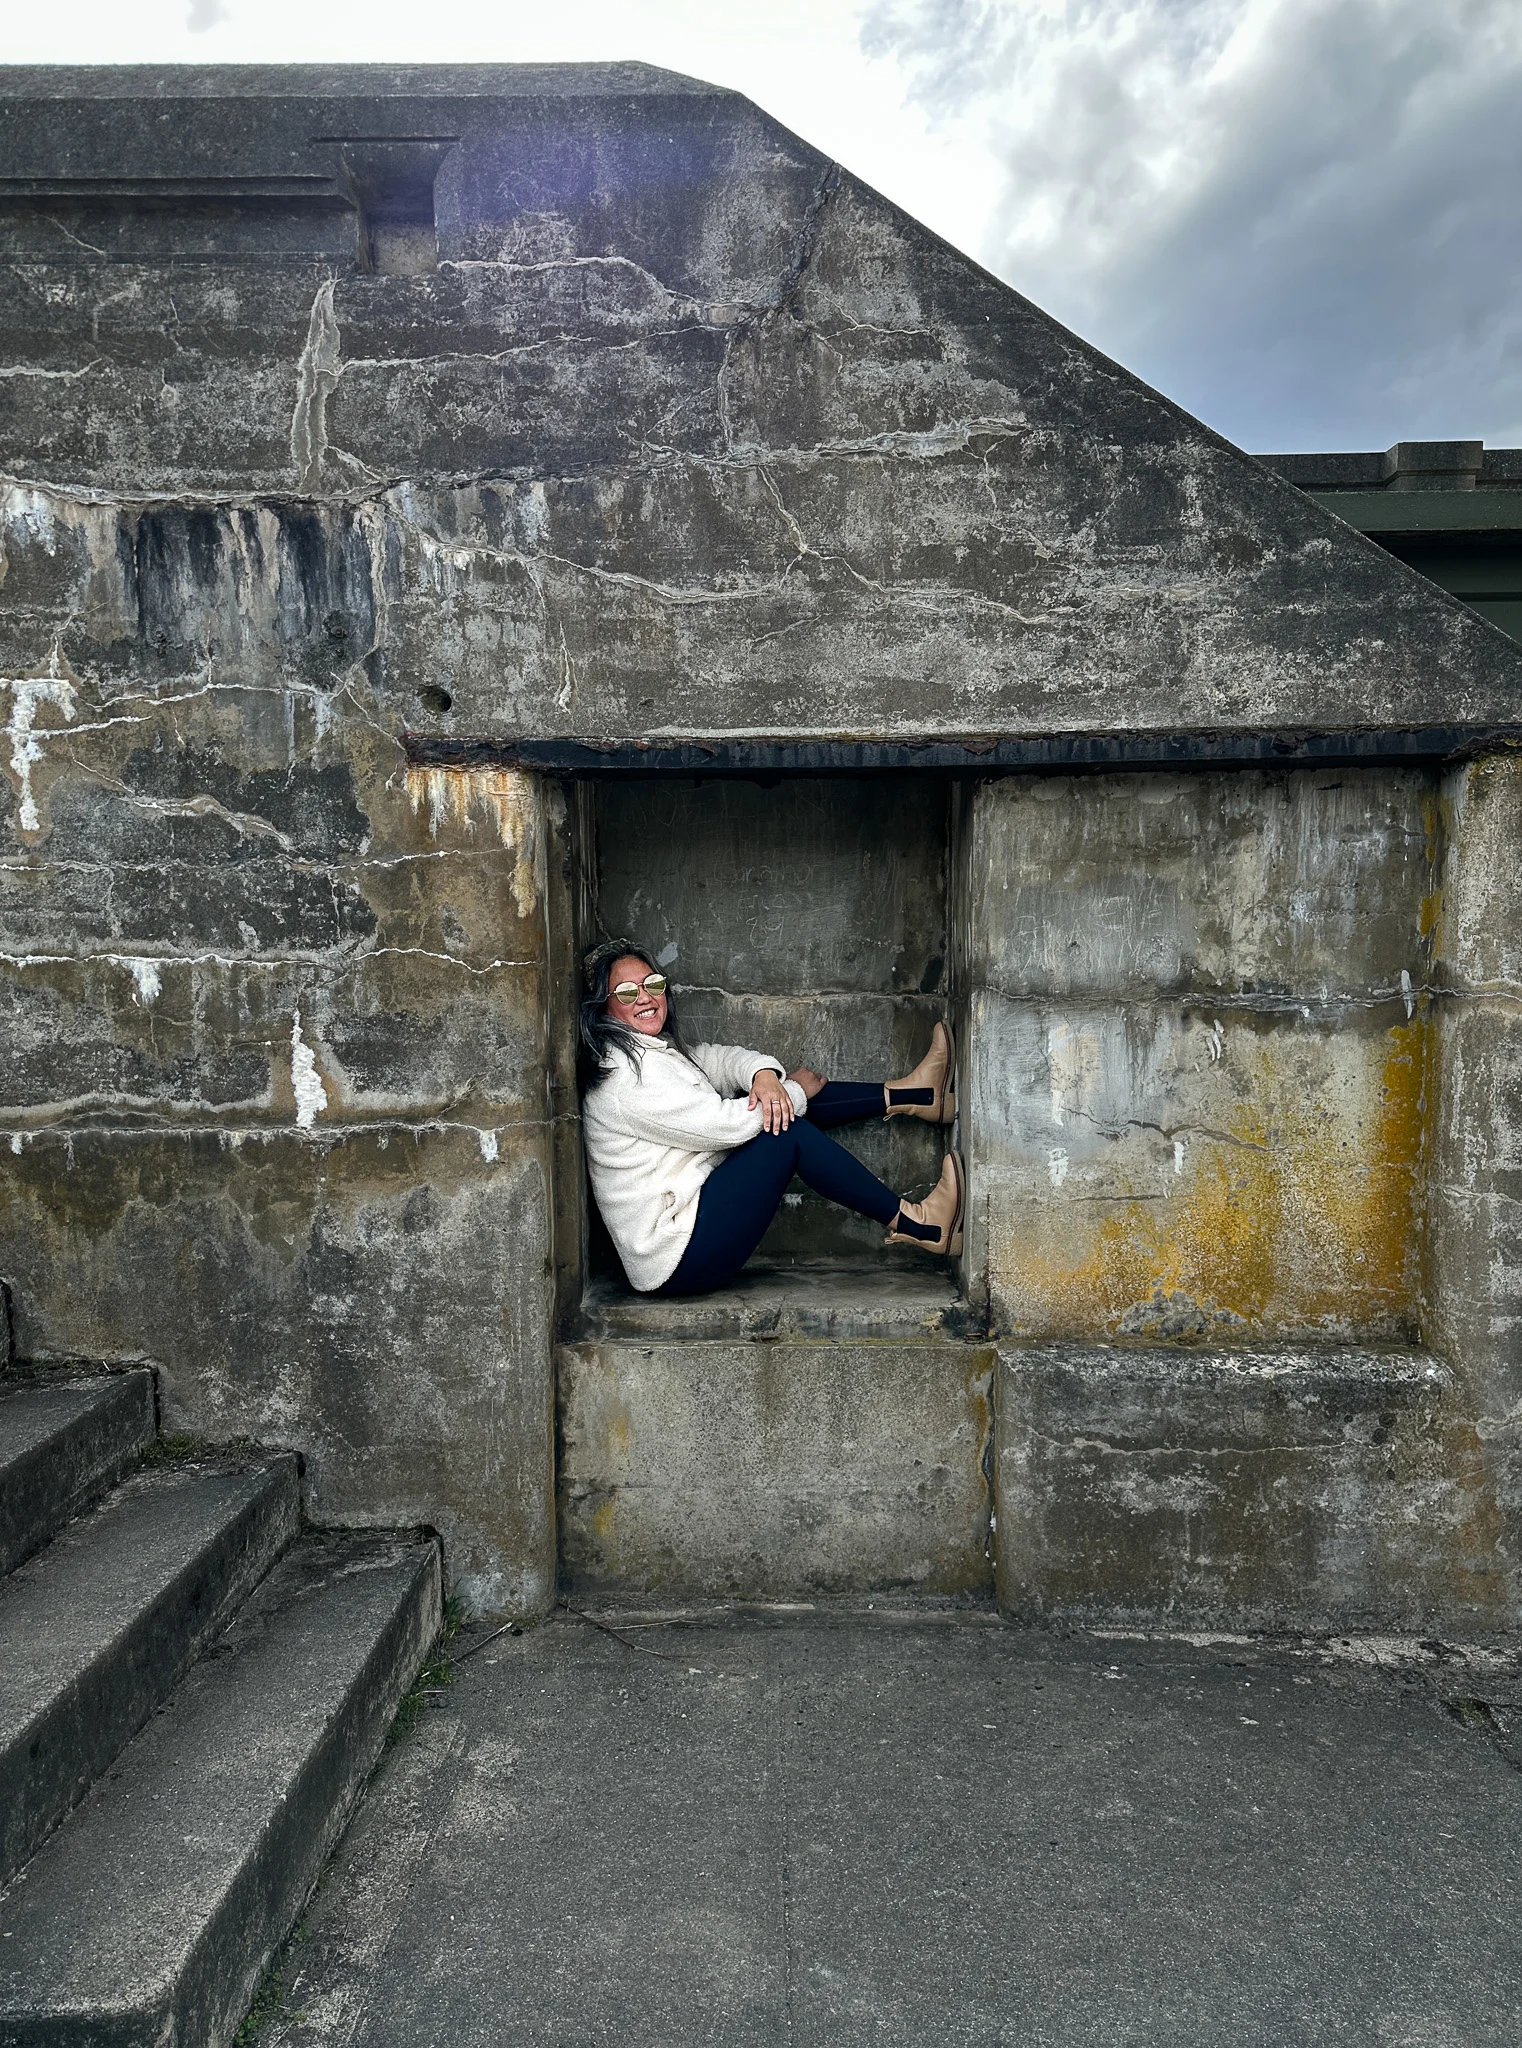
Framing example

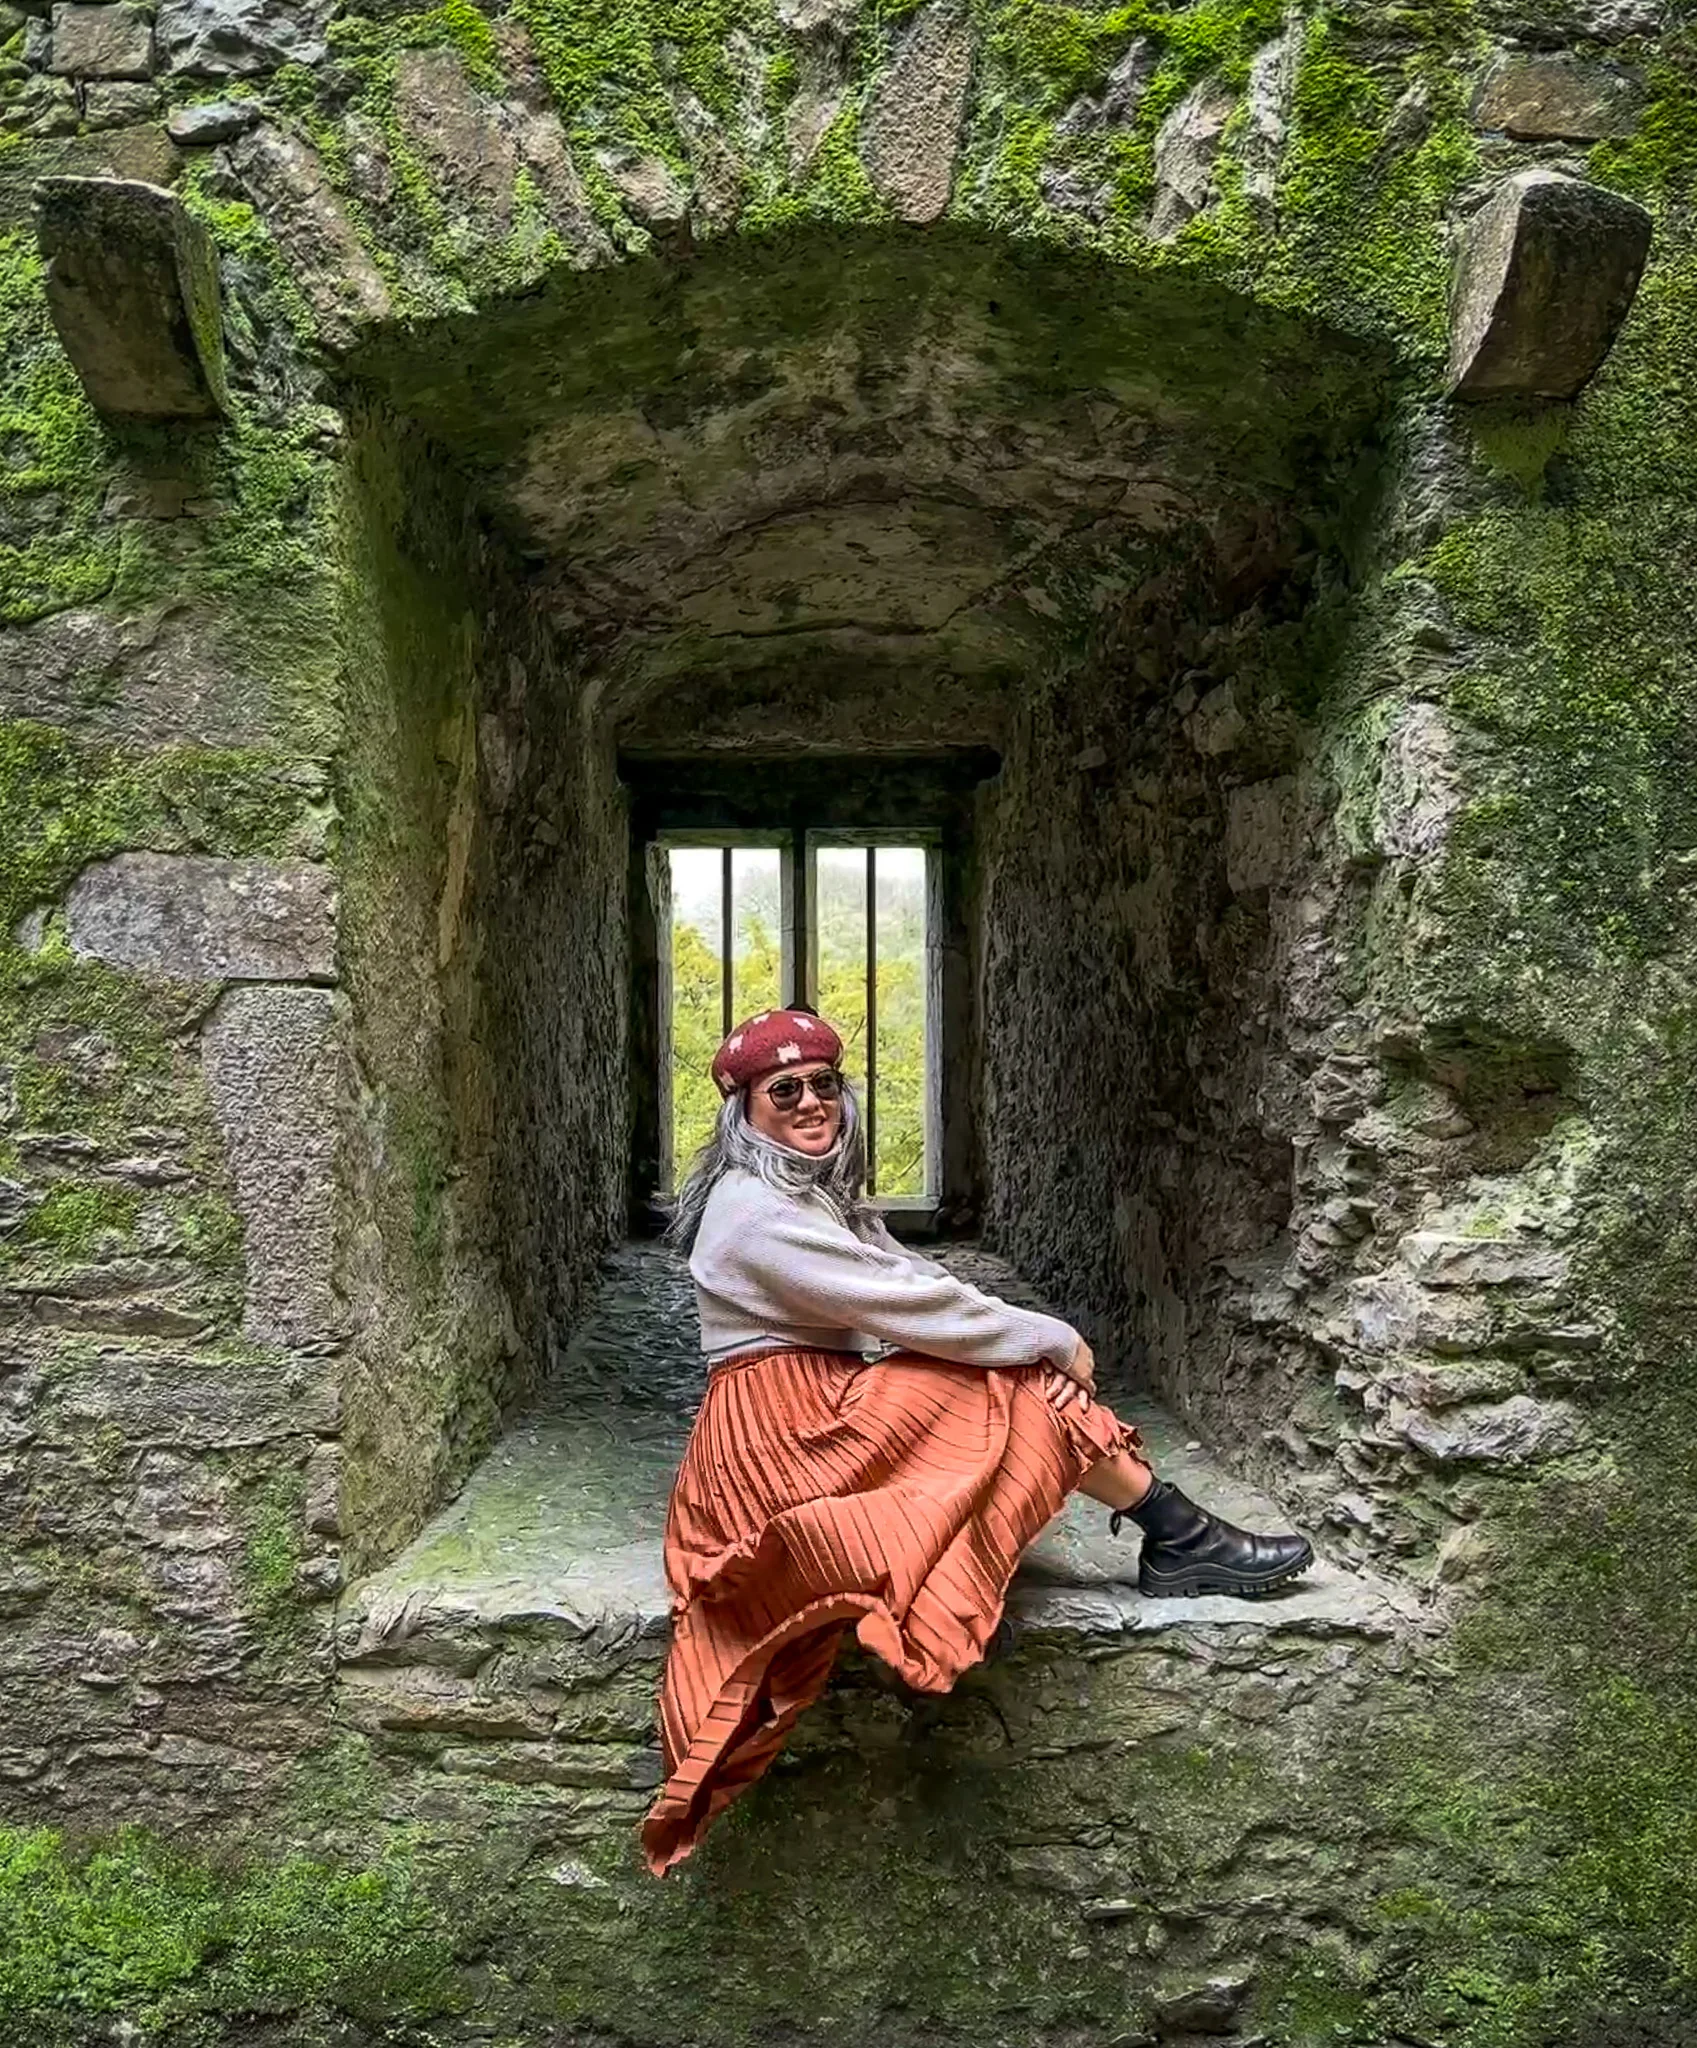
Framing Example
#5 Snap Your Friend First
For every photo of me, there is an identical one of my friends or boyfriend. Take photos of your friends/partners first and then show them the image so they get an idea of what you want your photo to look like.
You do not want your friend or partner guessing how you want your photo to turn out. Just set it up so that they can easily snap a photo of you.
#6 Adjust Your Camera Settings
If you have an iPhone, you can adjust your settings easily.
Go to Settings > Camera > Preserve Settings
Here are the settings we recommend toggling ON to green:
- Camera Mode – I typically use video or photo
- Creative Controls – Preserves your creative control settings so that you don’t have to reset them all the time.
- Exposure Adjustment – My phone often takes overexposed photos and the images look over-processed. Reducing my exposure to -.3 or -.7 helps to find the exposure I need to make my photos look more natural.
- Night Mode – I don’t use this often, but it’s good to have in low-light setting. Otherwise, I highly recommend using a light source.
- Portrait Zoom – Portrait zoom gives images a telescopic effect. I love using this for close-ups.
- Live Photo – Always have Live Photo turned on so that you can toggle between frames to find your best shot
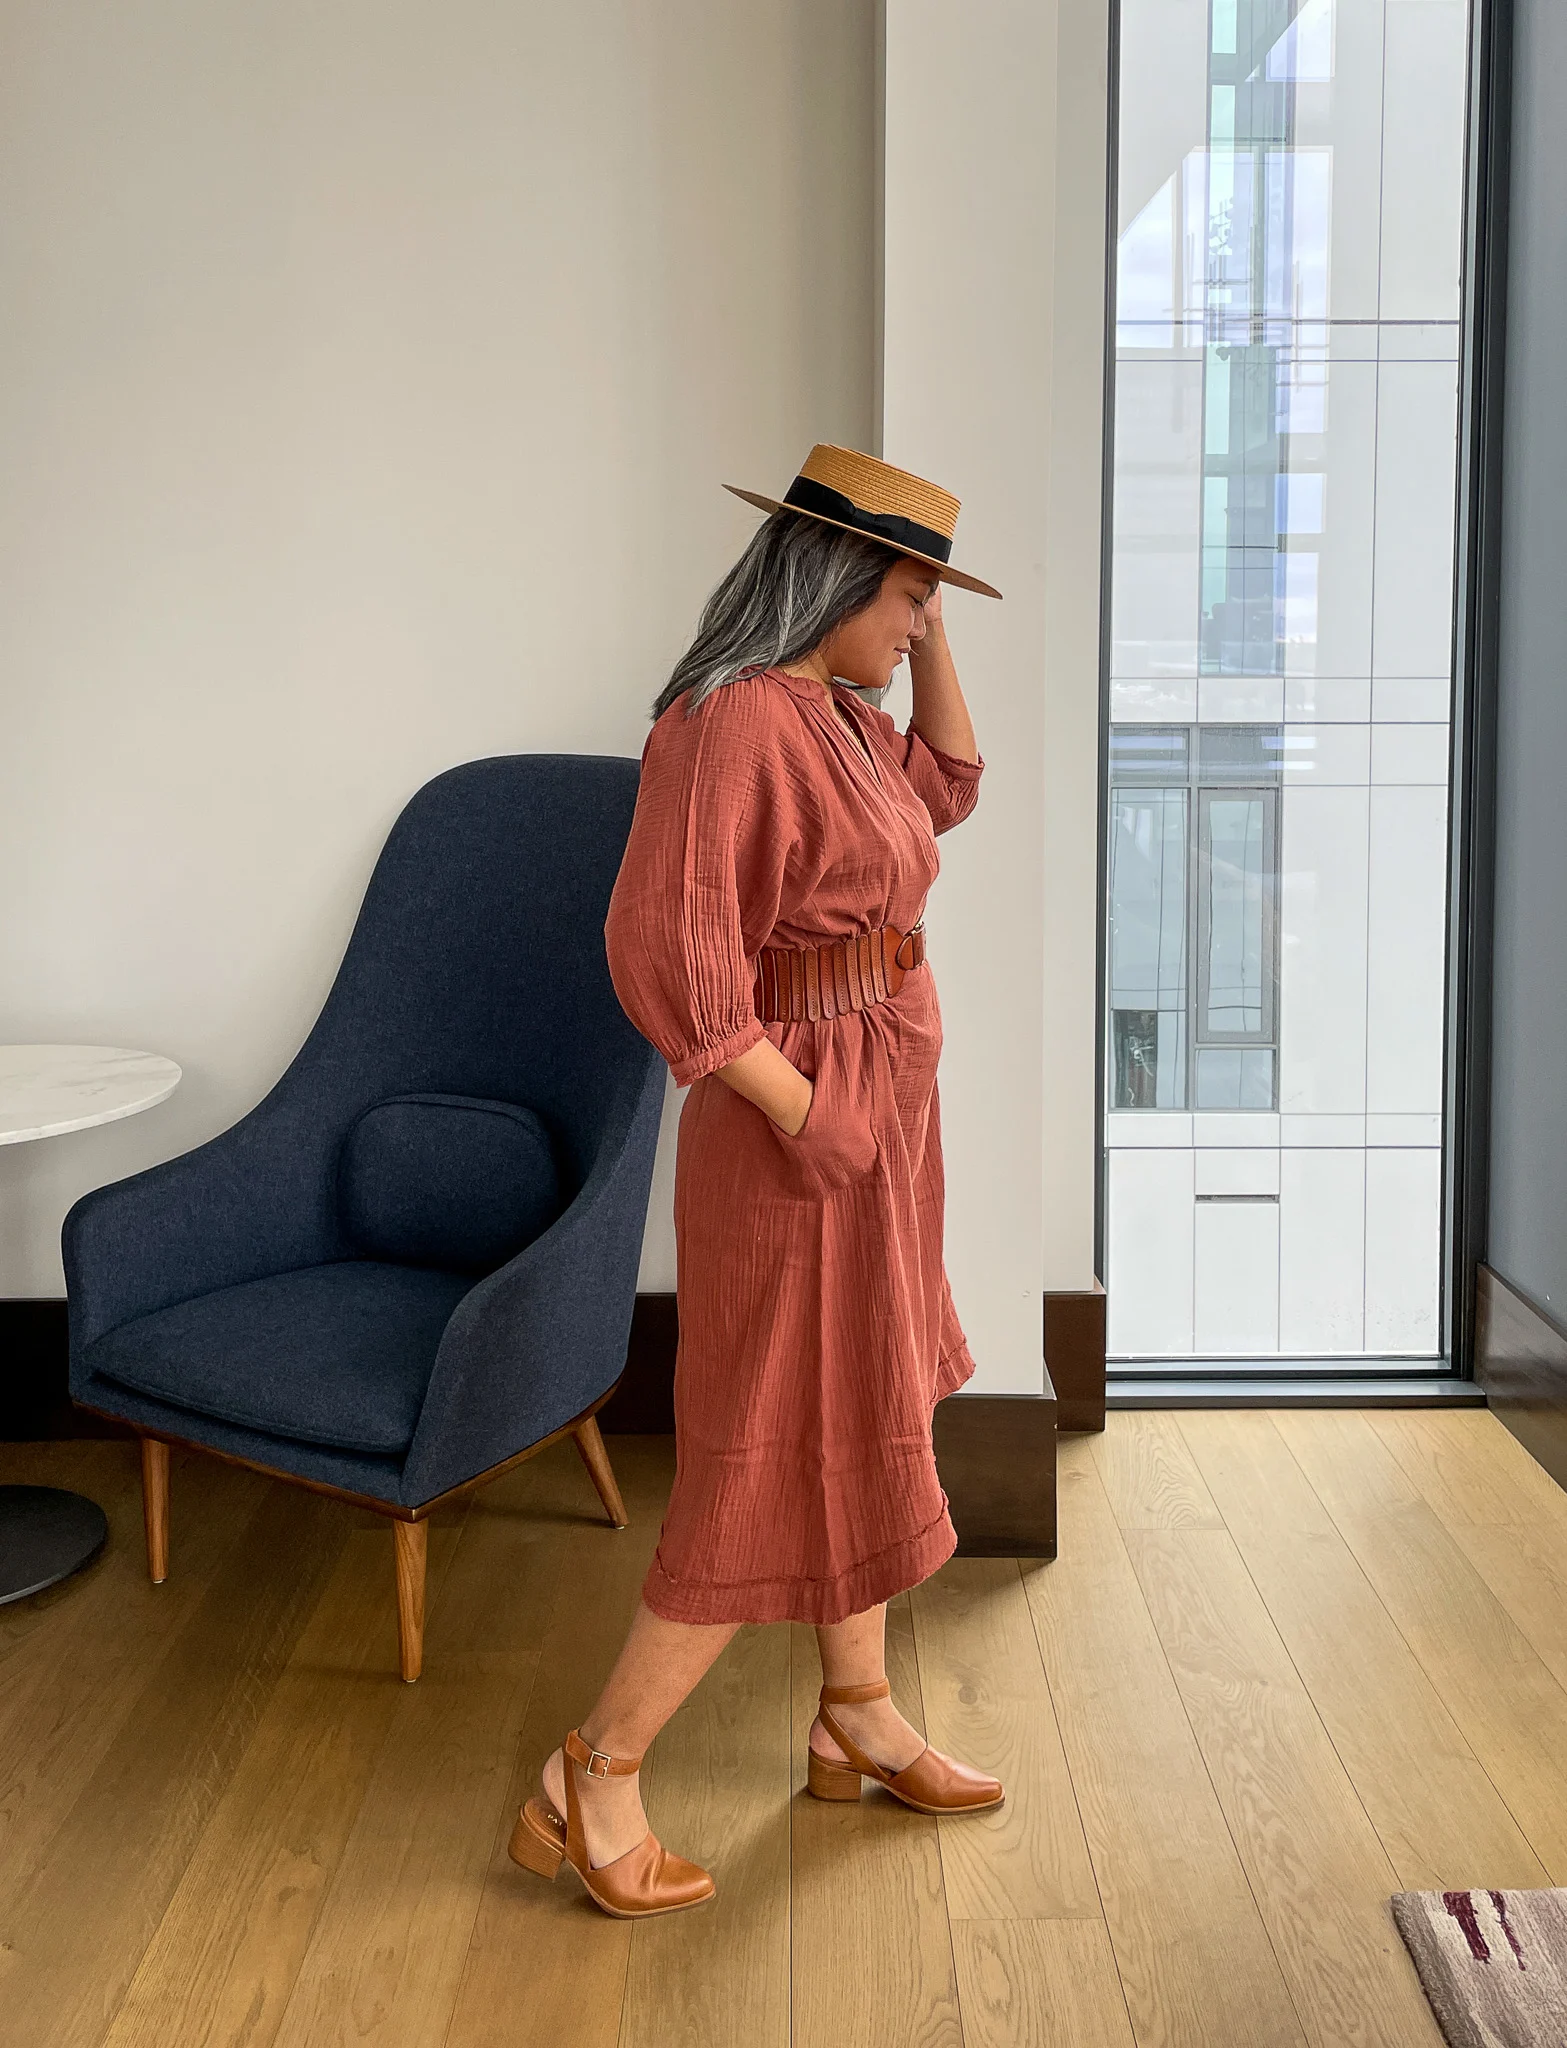
#7 Wear a Dress
While this might not apply to everyone, I recommend wearing a pretty travel dress because the colors and prints can make you stand out in your photos.
Wearing a pop of color also helps your camera better identify you on any background.
You can check out some of our favorite dress styles on REVOLVE and travel dresses. I also love wearing Perrin and Co. and Selkie dresses because they’re dramatic and shiny!


Wearing a Selkie Dress to the University of Washington in Seattle, WA
#8 Use a Photo Editing Tool
I NEVER EVER upload an unedited photo (unless that is what I’m going for). I recommend using Lightroom to increase the colors/hues and sharpen the subject or objects to make them stand out in photos.
Lightroom is an Adobe software that can be purchased and used on both desktop and mobile phones. It is worth it if you’re looking to make your photos pop.
You can also edit for FREE within Instagram or with an App called Snapseed.

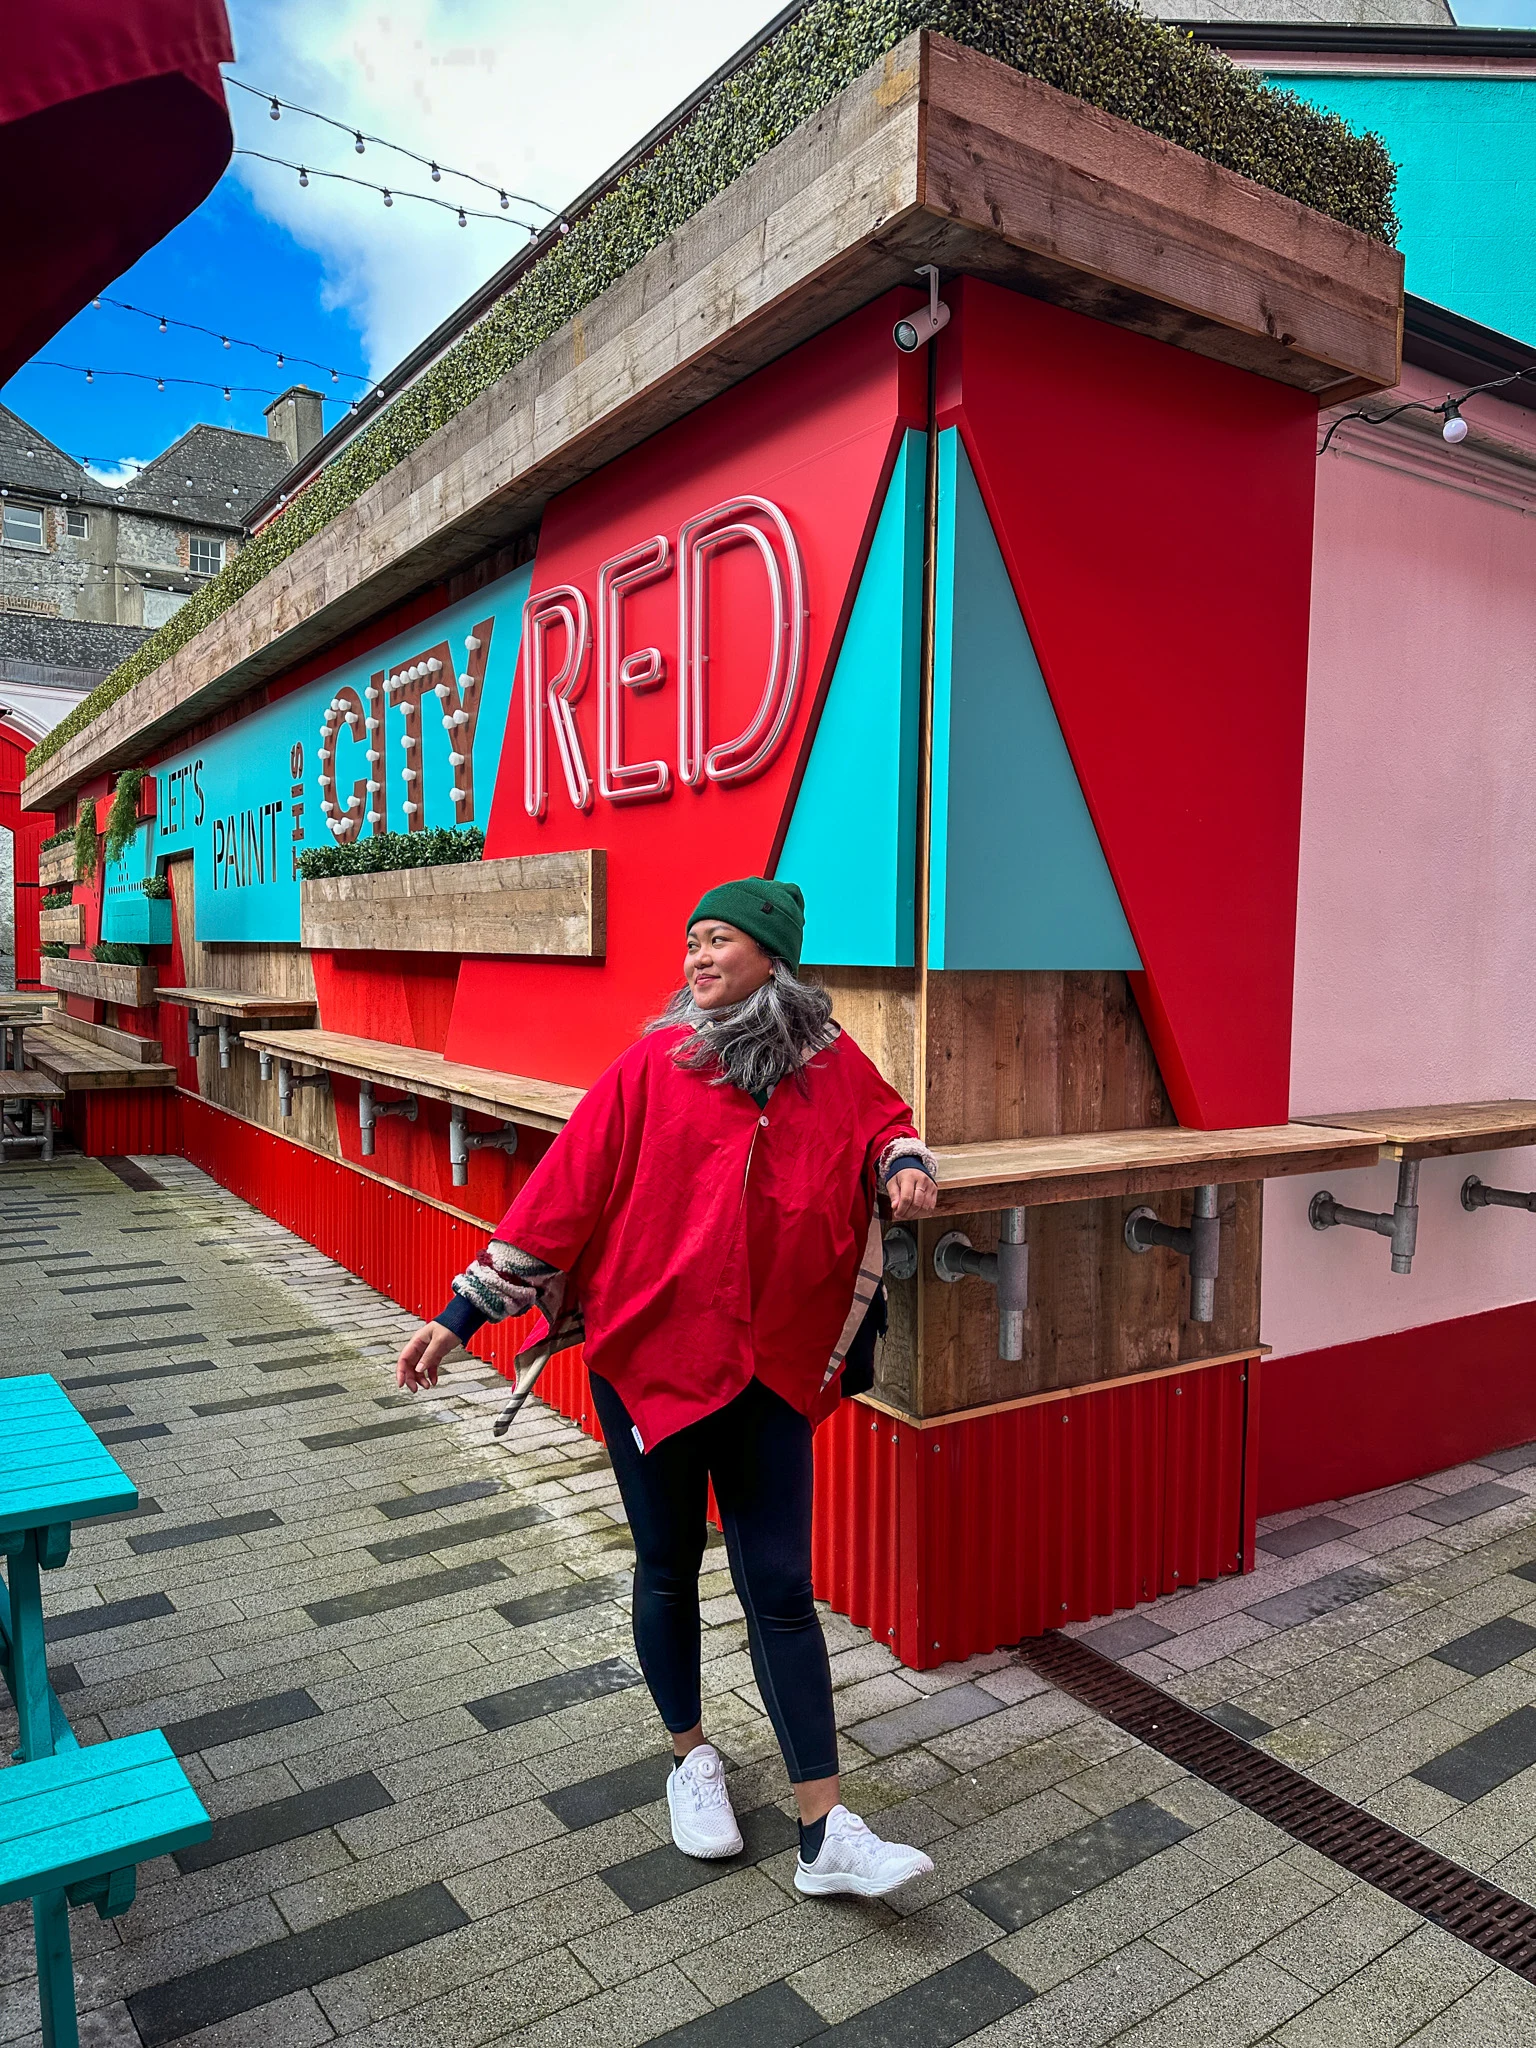
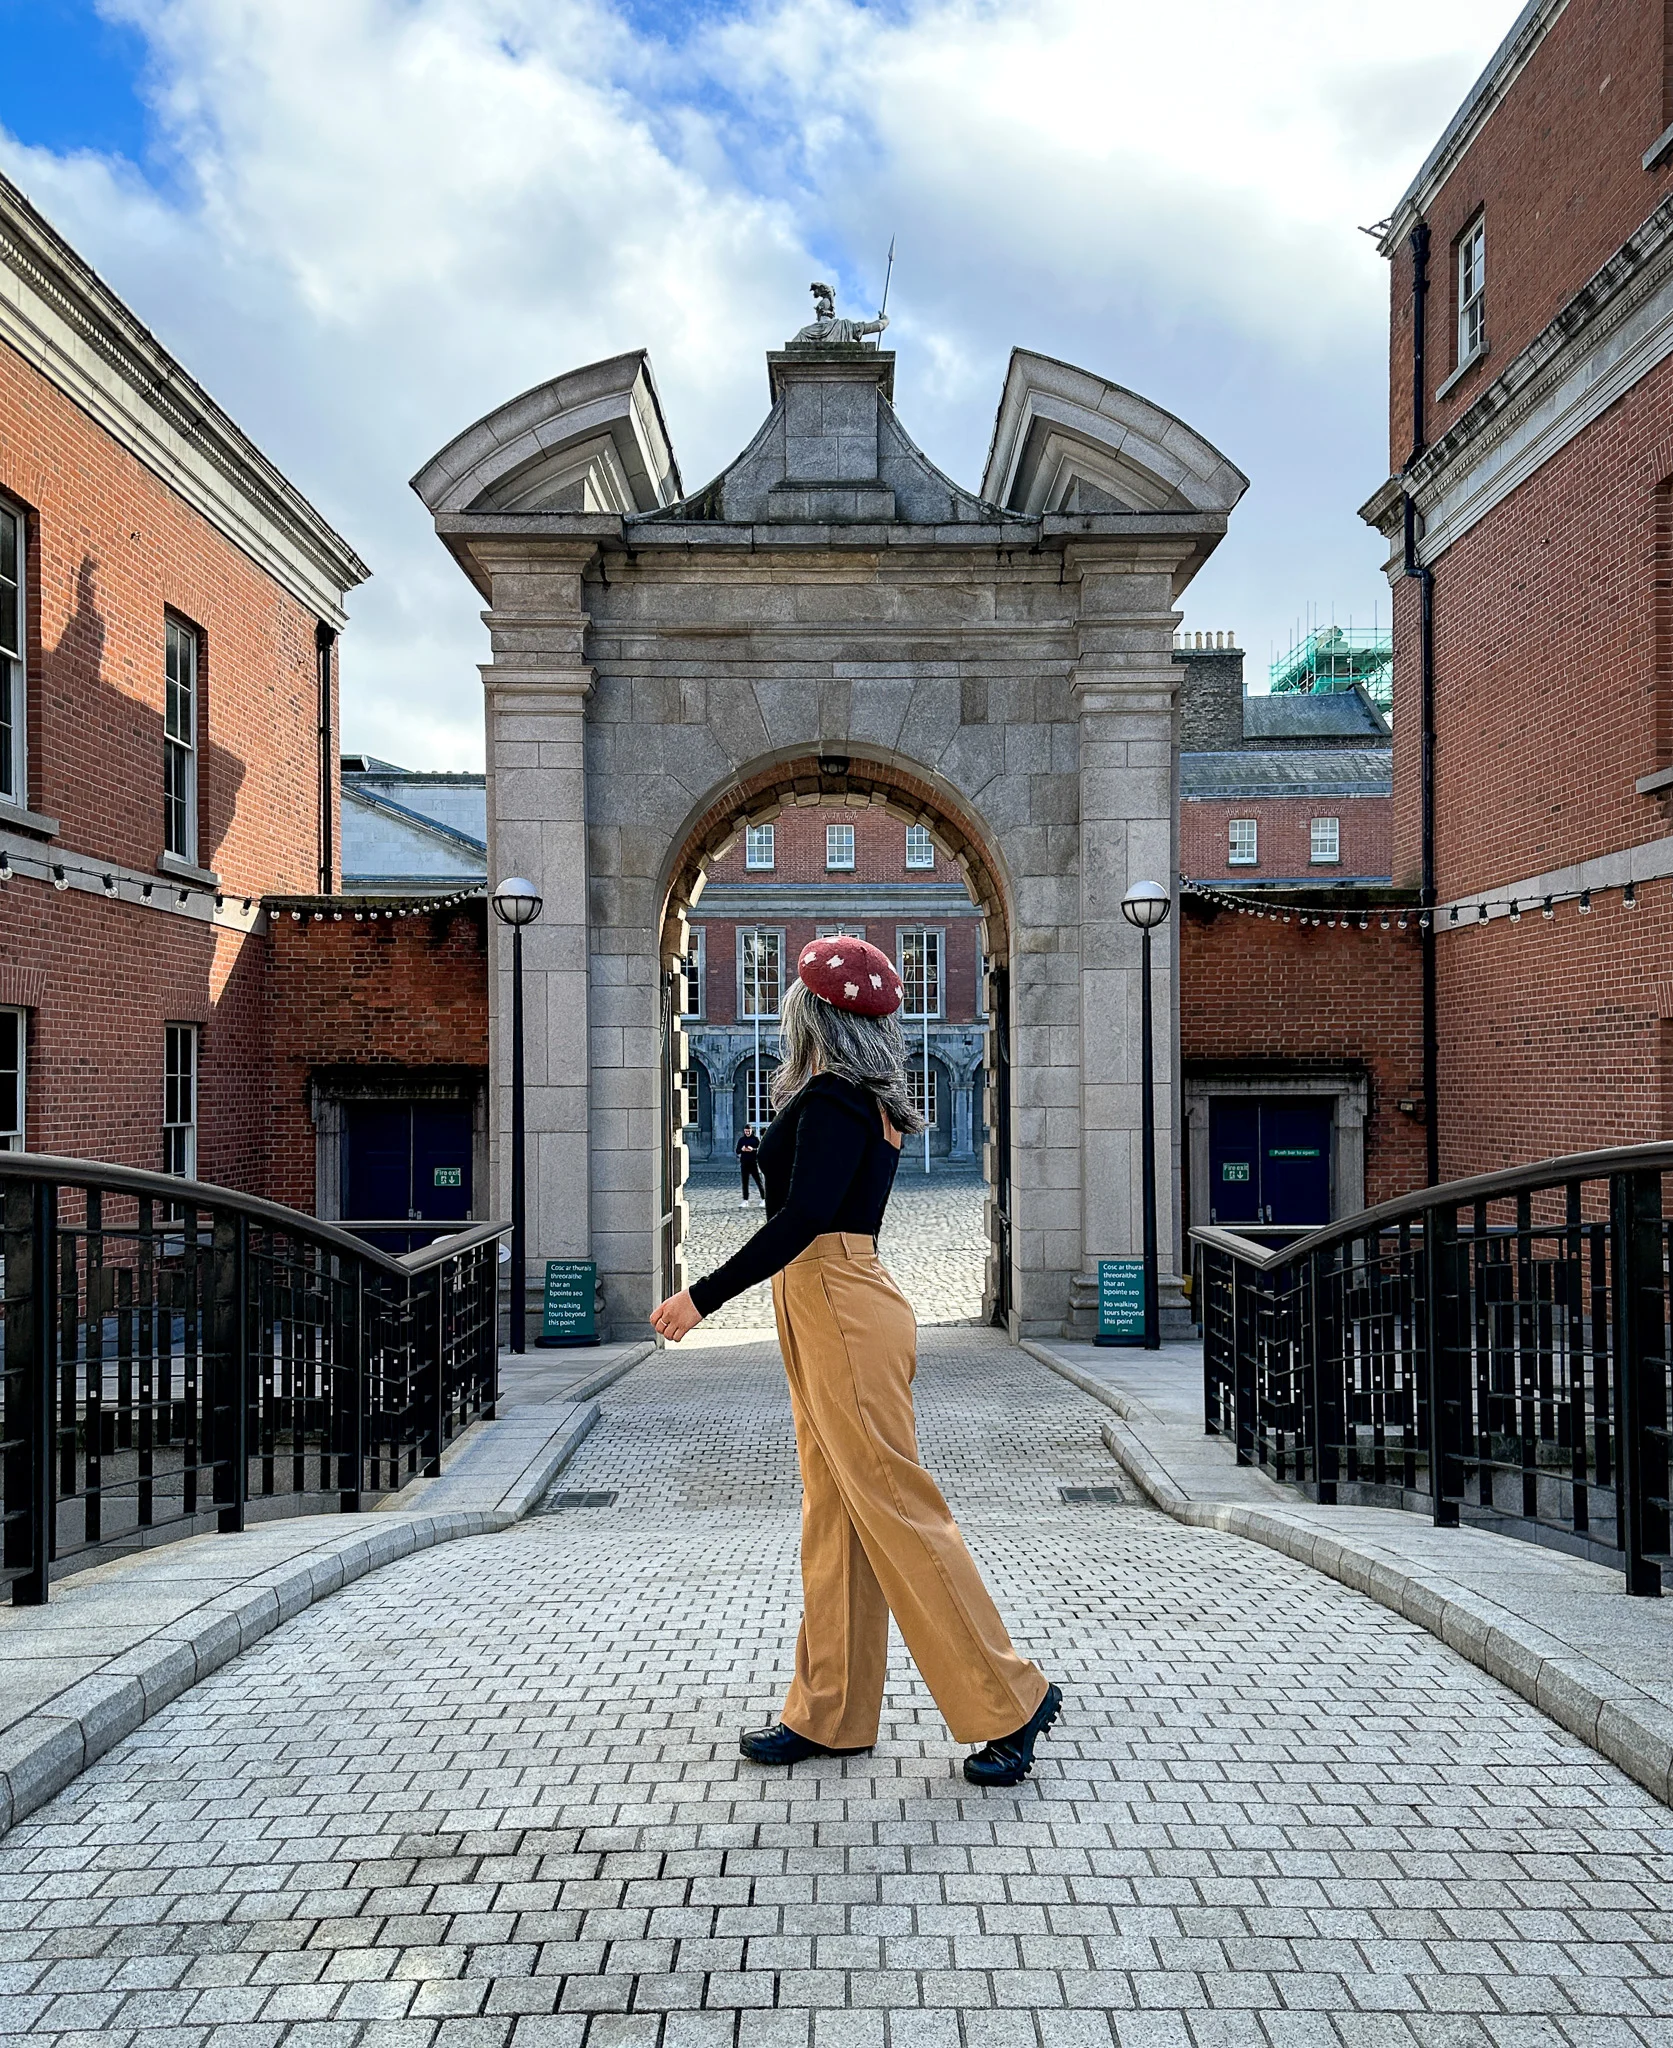
Sharpened subject (me!) at a brewery in Kilkenney, Ireland
#9 Take Many Shots
Never settle for one shot! It takes me at least 10 shots to get ONE perfect one. I recommend using a Bluetooth remote to snap as many shots as you need.
If you’re having someone else take your photos, ask them to say a cue so that you know when to change your pose. This cue can be the word “OK” or “Next.” In between cues, come into a pose and hold it until the next cue.
#10 Use a Bluetooth Remote
If you’re taking photos alone, make sure to bring a Bluetooth remote with you. This can save you the hassle of running back and forth between your phone and where you’re taking your photo.
#11 Use a Light Source
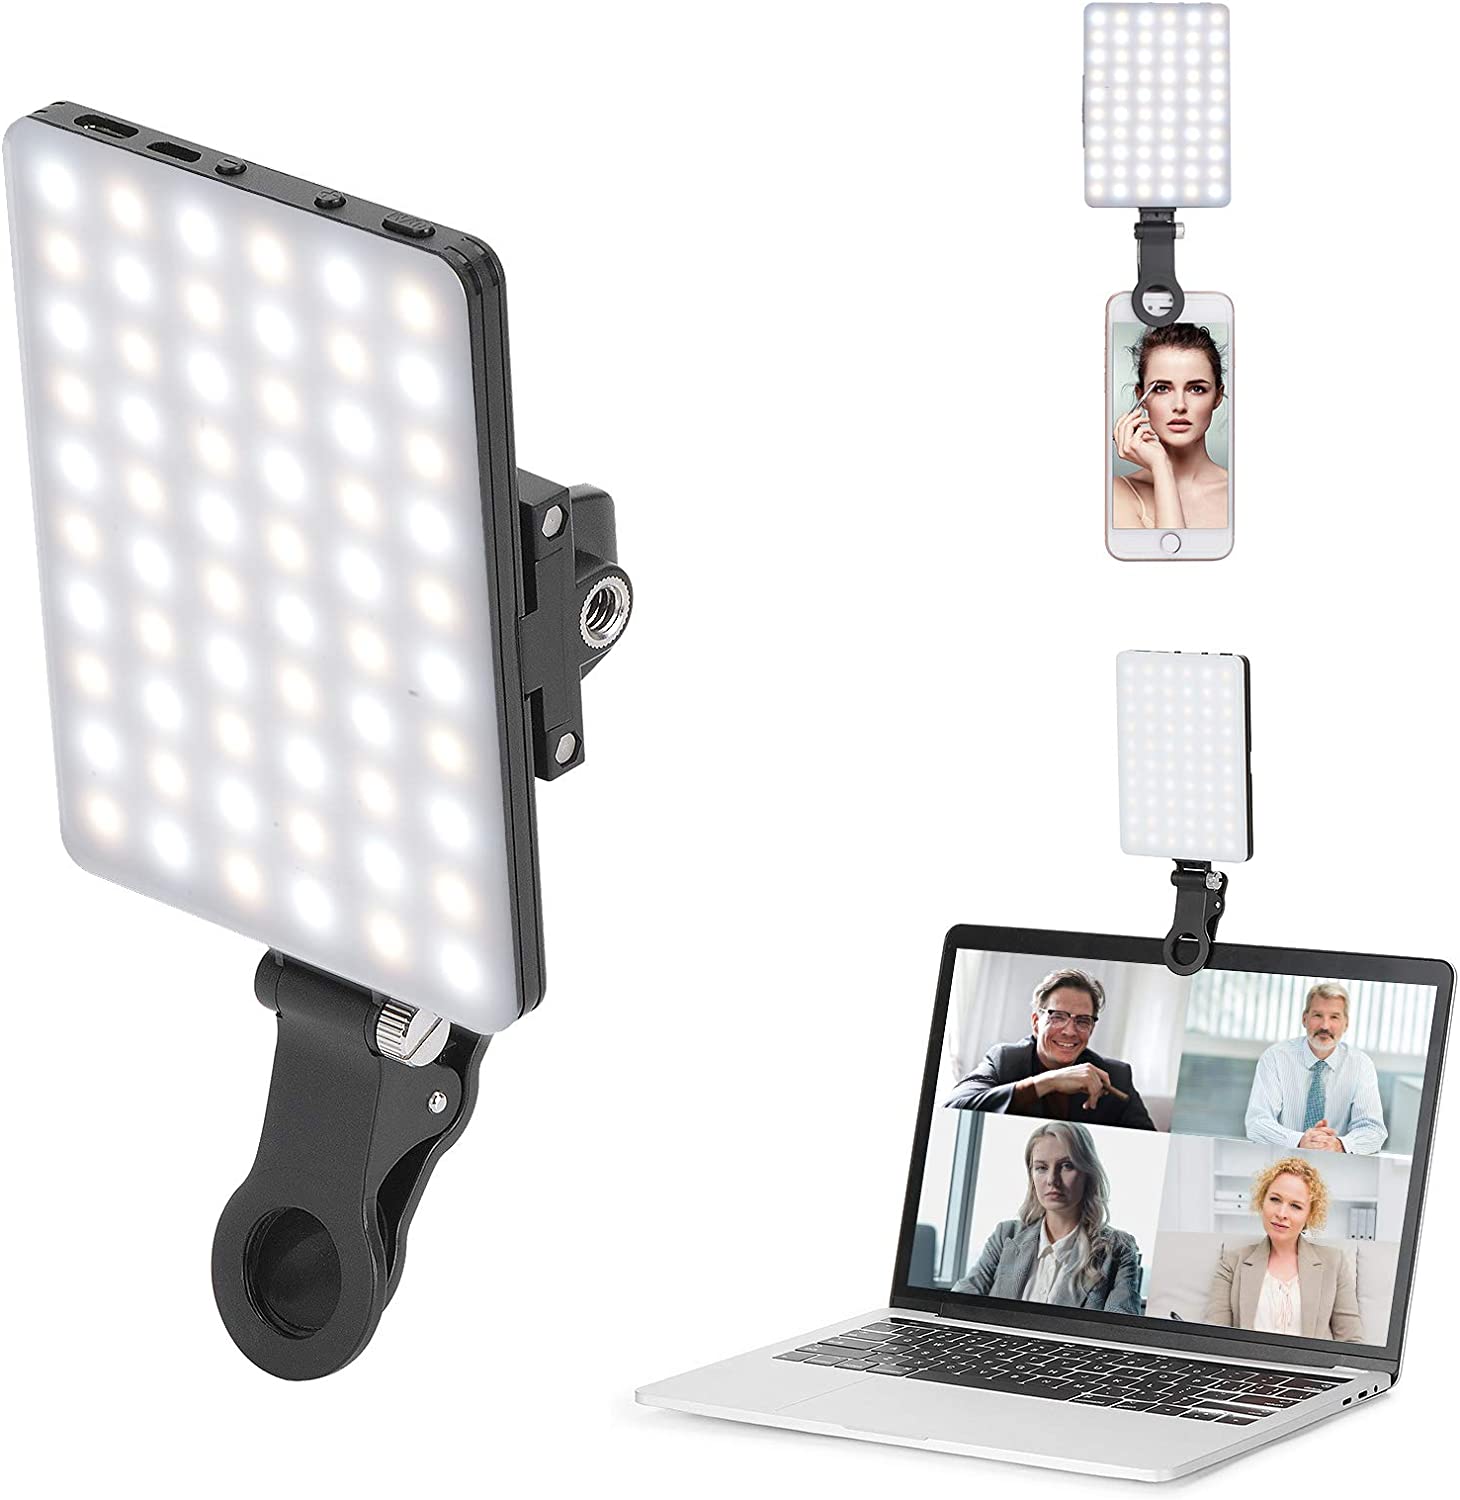
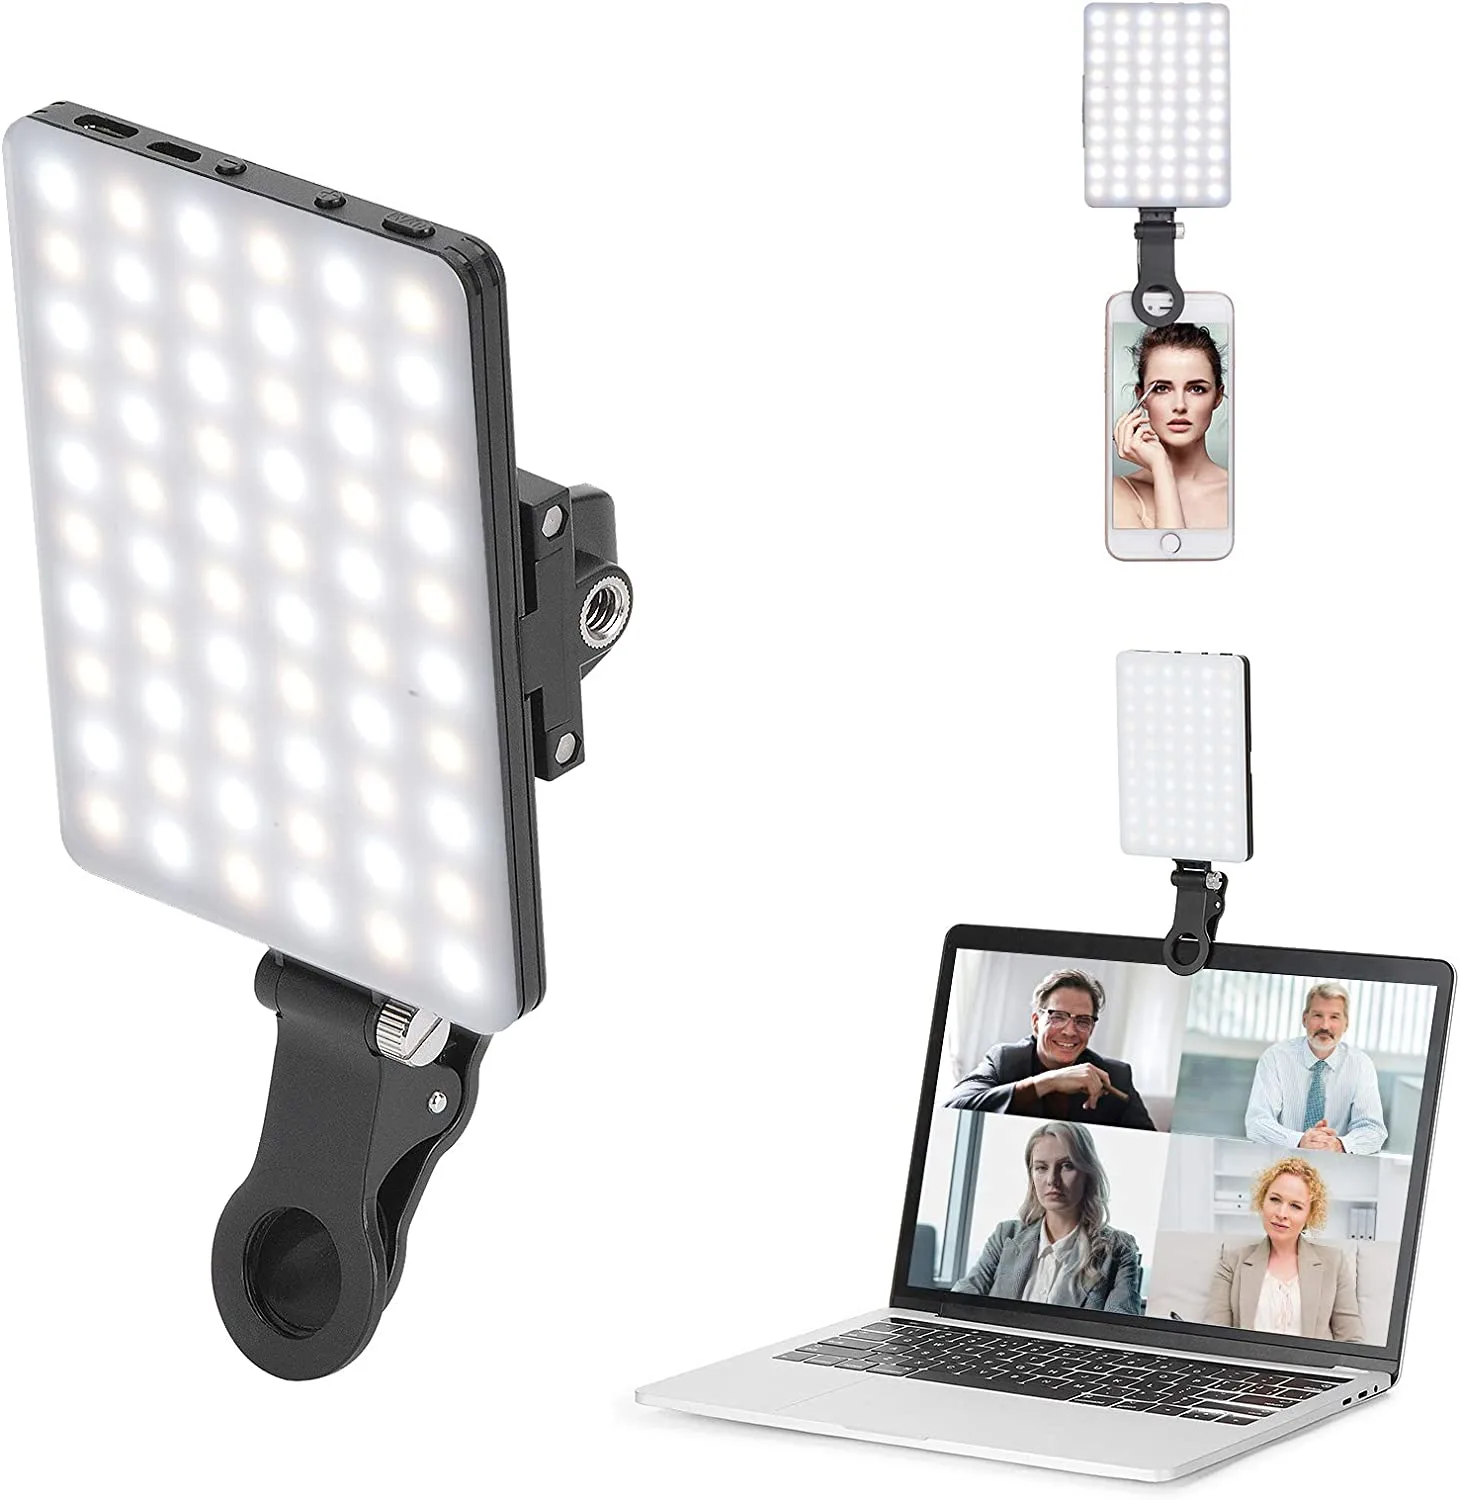
I love this light source I found on Amazon. It’s great for taking photos and videos in low-light settings.
It allows you to toggle between cool and warm light and light intensity (high to low).
It’s been a game changer for my content creation. If you’re serious about your content, you should get one too!
View this post on Instagram
#12 Don’t Be Afraid to Pose
At first, I know this might seem silly to do, but you will eventually learn what poses make you look the best.
This goes along with taking many snaps you need to find a pose that you’re satisfied with.
Over time, you’ll become more efficient and know exactly what it takes to look great in any photo!

If you found our how to take phone photography guide helpful, please share it. Thanks for your support!
Thank you for visiting today! If you found this encouraging or informative, please connect with us on Instagram or TikTok. Sign up for our monthly newsletter for updates and more. We promise we won't spam you! Feel free to unsubscribe anytime. If you're a brand and want to work with us, please visit this page to get in touch.
