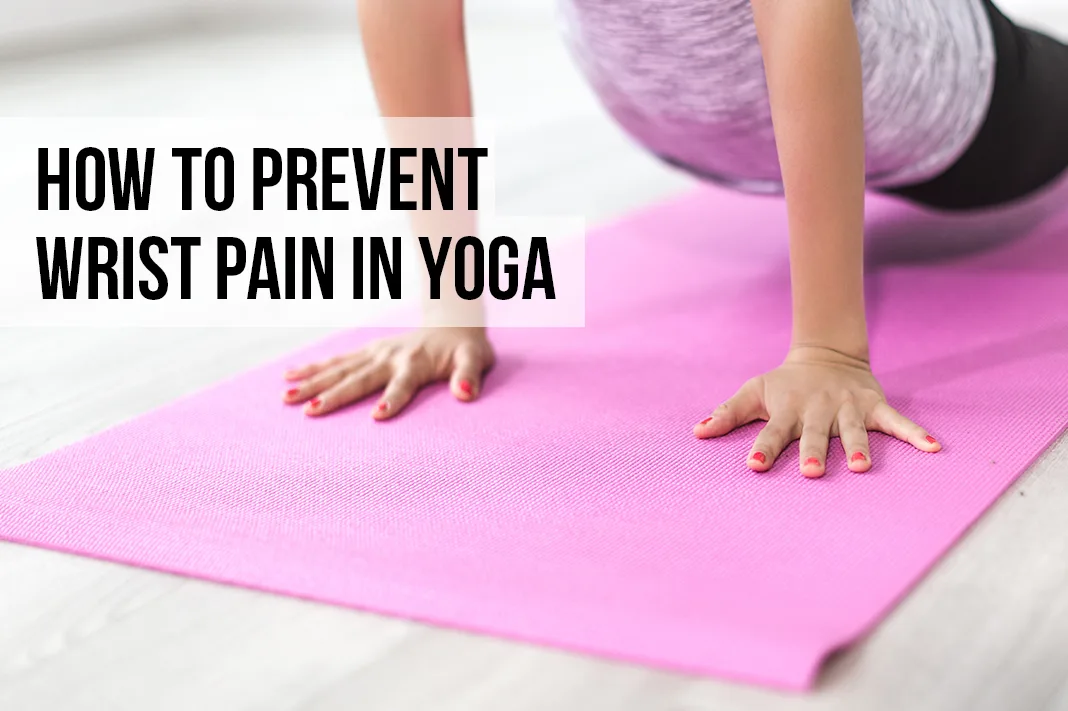
Maybe you’re a seasoned yogi who has been practicing for a long time or maybe a newcomer who just had their first yoga class. Regardless of your situation, you will likely encounter wrist pain or tightness on your yoga journey. Your wrists get a lot of use, especially in Vinyasa or Ashtanga practices. Even simple movements like planks or push-ups can leave your wrists sore and inflamed the next day. So what can you do to prevent this from happening? In the following article, we set out to answer that very question.
5 Ways to Avoid Wrist Pain in Yoga
#1 Ensure Proper Form
One of the main reasons people experience wrist pain during poses is their lack of body awareness. Pay close attention to how your weight is being distributed during movements. Activating your feet, abdominals, knees and other parts of the body can help support your wrists in weight-bearing asana.
Tip: Small adjustments, like activating your entire hand in hasta bandha (high five hands), can be subtle yet effective in taking strain off your wrists.
Hasta bandha is a yoga technique in which the hands are placed on the ground, with the fingers spread and the palm lifted off the mat in a cupping or tented manner. The term comes from the Sanskrit, hasta, meaning “hand,” and bandha, which translates as “lock,” “harness” or “tighten.”
#2 Avoid or Postpone Trouble Poses
In the event that your wrists are giving you issues like; pain or inflammation, it is advised to eliminate those poses from your practice entirely until you can fully recover. Once the swelling and pain have receded, you can begin to slowly integrate these poses back into your practice.
#3 Strengthen Your Wrists
Part of getting back into weight bearing movements is to test your wrist flexion. You can do this by coming to a tabletop position with your shoulders over your wrists. Do your wrists feel comfortable in this position? If so, you have the green light to move forward with wrist dominant poses. If not, you may want to work on your wrist mobility.
There are a myriad of exercises to improve wrist mobility and strength, but one of the most effective involves practicing wrist flexion and extension. Follow these steps below and try it out.
- Place your forearm at the edge of a table so that your hand is able to fully move up and down. Your palms should be facing the ground. Tip: Put a soft cloth or towel under your wrist for comfort.
- Hinge at the wrist and move your hand up towards the ceiling until you feel a stretch.
- Return your hand to rested position.
- Repeat the steps, only this time, with your palms facing up so you feel the stretch in the opposite direction. For an even deeper stretch, you can use your other hand to gently pull your wrist towards you.
Other wrist exercises that I highly recommend include the following:
- A great way to work on wrist mobility is to create a fist and make figure 8 shapes with your wrists.
- Get a bucket with dry rice and try moving your hands within the rice to improve mobility and create wrist strength.
- Getting a licensed massage and asking the therapist to focus on wrist mobility. My insurance covers 12 massage sessions a year and I always ask to focus on my wrists and back.
#4 Know Your Limits and Adjust
Yoga is a very personal practice and you should not compare and compete with others. Competition can lead to injury. Know your physical limitations and modify your routine to prevent pain and discomfort. For example, if you find downward dog to be uncomfortable for you, try substituting it with dolphin pose. Similarly, you can perform a regular plank position on your forearms in order to avoid excessive weight on your wrists. With continued practice, you will learn how to adjust so that pain is prevented and your wellness is optimized.

#5 Use Props and Equipment to Prevent Pain
For stubborn pain that just won’t go away, it may be a good idea to use a wrist support brace either during your practice or off the mat to reduce inflammation and swelling. Some considerations when choosing the right brace are; the materials, ease of use, rigidity/level of support and comfort.
Make sure to choose a brace or compression sleeve that is designed to work with the way you intend to use it. Very rigid braces with metal plates are not ideal for use during yoga class as it impedes movement. Wrist compression sleeves can be worn during your sessions easily and are meant for limited movement.
We recently discovered Bear Blocks ($50) which allow you to strengthen your grip to support your wrists. The blocks are lightweight and tuck into one another for compact storage. Your wrists will thank you for using Bear Blocks when working out.

We also recommend a good grippy yoga mat that prevents you from slipping. Slipping can cause injury if you’re new to yoga or injured.
By being mindful of your yoga techniques, avoiding trouble poses and working on wrist mobility off the mat, you can ensure that wrist pain does not detract from a lifelong yoga practice.
Thank you for visiting today! If you found this encouraging or informative, please connect with us on Instagram or TikTok. Sign up for our monthly newsletter for updates and more. We promise we won't spam you! Feel free to unsubscribe anytime. If you're a brand and want to work with us, please visit this page to get in touch.


