
Updated: 3/5/2021 | Yoga Poses for Stronger Knees
Yoga is a practice that often involves adapting your routine to your life circumstances, whether that is a pre-existing injury or poor flexibility. For a lot of individuals, weak knees can prevent them from taking their progress on the mat to the next level. In this article, we will dive into poses that you should incorporate in your practice to strengthen your knees along with some tips to protect your knees outside of yoga.
Our knees suffer a lot of abuse throughout our lives, so it’s critical that we take care of them. Twisting your joints the wrong way or overextending them can cause a lot of damage. And the knee joint does not heal easily.
As always, make sure to consult your physician before attempting any of these poses, especially if you are plagued with a chronic or acute knee injury.
Yoga Poses for Stronger Knees
Incorporate these key yoga poses for stronger knees into each practice. Your knees will thank you!
#1 Bridge Pose

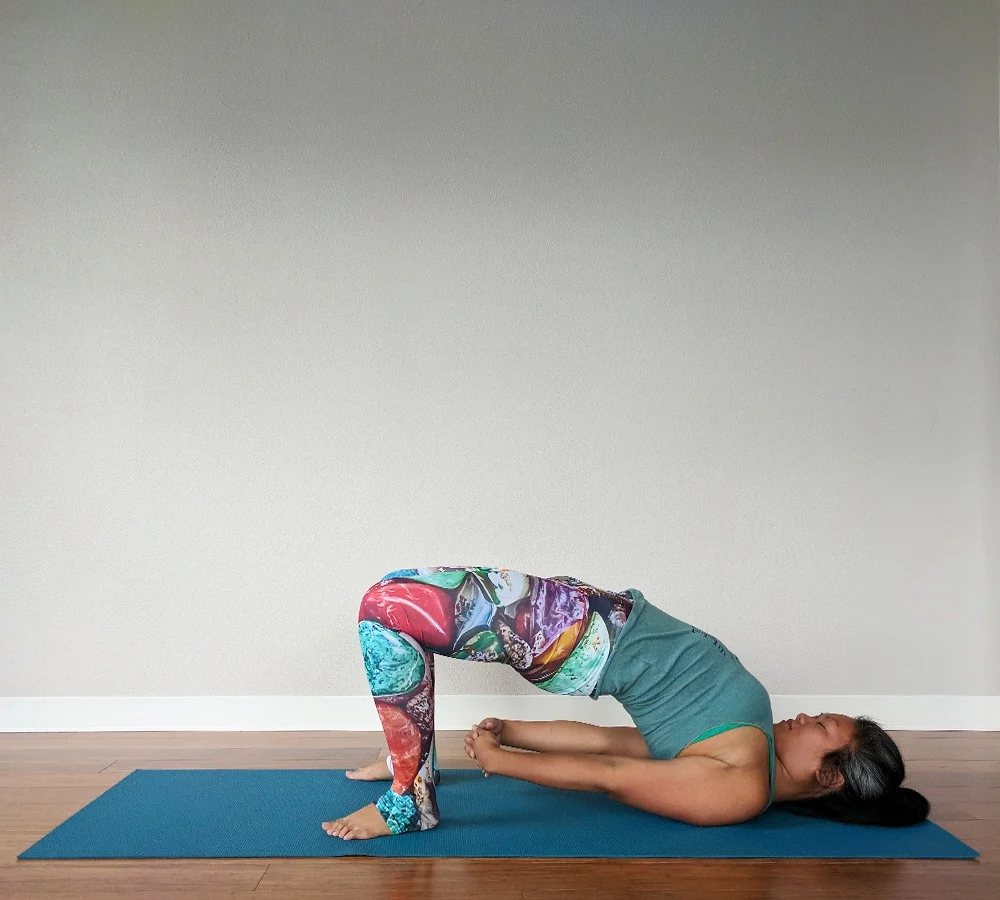
Bridge Pose/Setu Bandha Sarvangasana
Bridge pose, or Setu Bandha Sarvangasana (pronounced Seh-too ban-dah sar-von-gas-san-ah), is known for its versatility in helping yoga practitioners develop strength and stability in their knees, legs, glutes as well as back. Why is it such an effective pose? The main reason is that it puts your head and neck in a very uncompromising position in which it suppresses the sympathetic part of your autonomic nervous system. This allows your muscles to relax as you ease into the position.
How to Get Into Bridge Pose:
- Being by lying on your mat face up.
- Start to bend your knees and walk your feet towards your glutes. Keep the spine on the ground and feet flat on the floor and shoulder width. Knees should be pointed toward the ceiling.
- Extend your arms down by your side with palms facing the floor.
- Begin to press through your feet and lift your thighs away from the floor. Focus on lifting the thighs and your glutes should naturally lift without you having to squeeze them. You can place a block underneath your hips for additional support.
- You can keep your arms flat by your sides OR interlace the fingers and bind the hands underneath your back.
- You’ll feel your chest shift toward your chin. Ground your neck against the mat and lengthen your neck towards the back of the back.
- Press your shoulders into the Earth to create an opening in your chest. Continue to press the thighs towards the ceiling.
- Hold it for 15 breaths then slowly lower out of the pose.
#2 Supported Wall Chair Pose
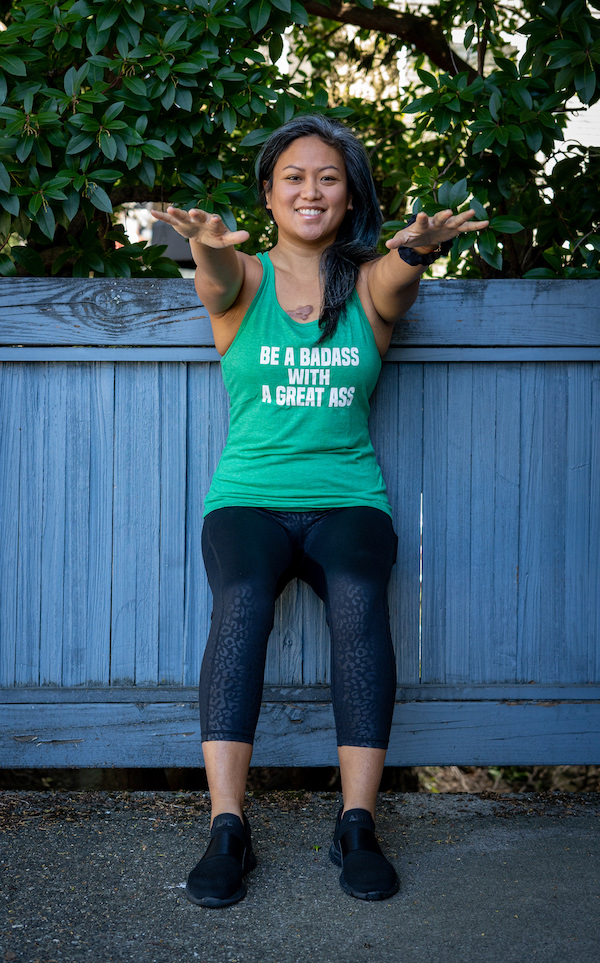
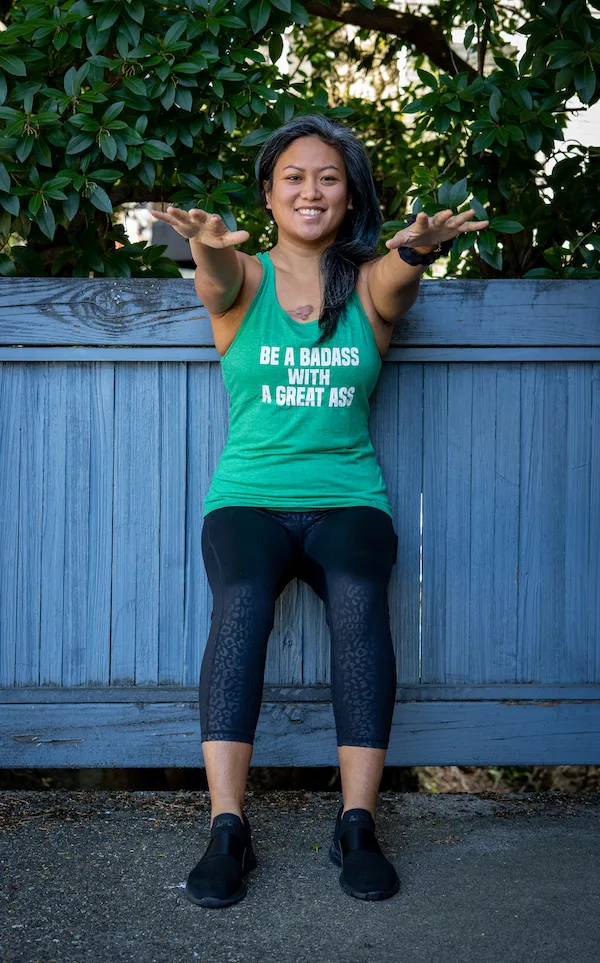
Wall Chair Pose
Don’t let the simplicity of this asana fool you. The supported chair pose, or Utkatasana (pronounced oot-ka-ta-san-ah), is a great pose to engage your leg and core muscles which support your knees. It also supports blood flow to your lower body, which can help with the fluidity of movement. Try practicing this position supported by a wall and gradually move up to a chair pose with no assistance.
How to Get Into Supported Chair Pose:
- Start in Mountain Pose/Tadasana with your glutes and shoulder against the wall.
- Inhale as you bring your arms above your head, palms facing inward and arms parallel.
- As you exhale, slowly lower your body by bending your knees until they are parallel to your feet.
- Hold this pose for 30 seconds while inhaling and exhaling. Repeat this pose daily.
#3 Mountain Pose
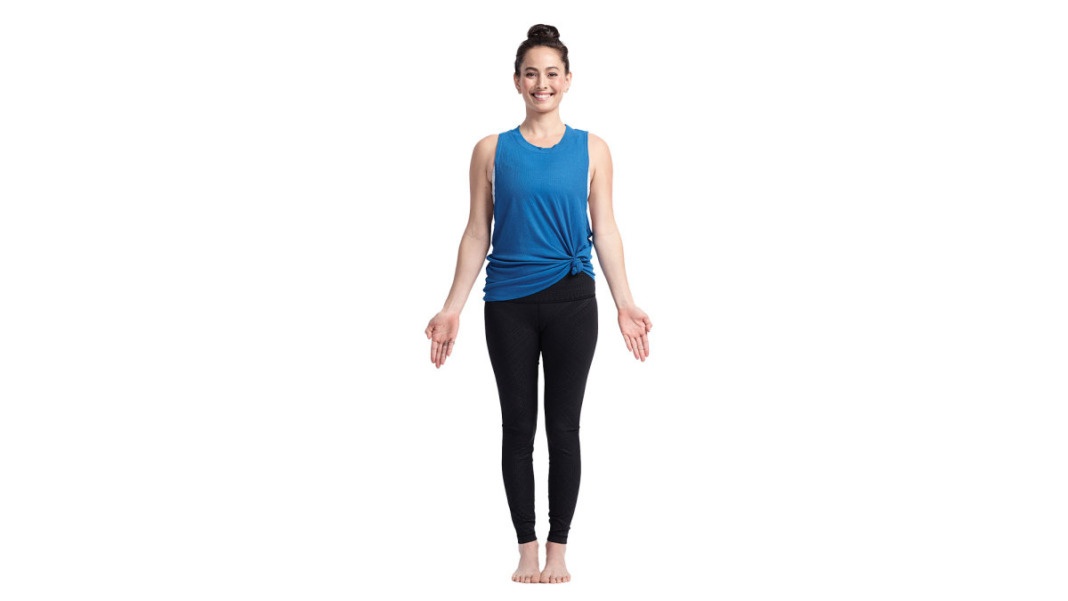

Credit: Yoga Journal
Mountain pose, or Tadasana (pronounced ta-dah-san-ah), is a simple yet powerful pose. It’s the foundation of many yoga poses and is a great place to start. When done mindfully, this pose can really help to engage muscle groups that support your knees in everyday life.
How to Get Into Mountain Pose/Tadasana:
- Stand upright with your toes touching. Make sure your feet are evenly pressed on to the mat.
- Rest arms alongside your hips with your palms facing forward.
- Squeeze your shoulder blades together and then draw them down your back.
- Shift your sternum/chest forward and up.
- Find your drishti, or point of focus, at one point in front of you. Keep your gaze steady and glued to that one place, but do not gaze too sharply.
- Most importantly, be mindful of your breath as you inhale and exhale through your nose. Be here for 30 breaths.
More Tips to Prevent Knee Injury in Yoga
Here are some additional tips that can be helpful with preventing knee injury in yoga and beyond.
- Use a knee pad when practicing on a hard surface or wooden flooring. I use the YogaRat pad that is made out of durable foam. It’s great for my knees, elbows and even top of my head during inversions. You can also fold your mat to create a pad for your sensitive knees and joints.
- When in a pose, engage your muscles by flexing them. When you flex your muscles in a pose, you’re getting your muscles to create the pose rather than the bone alignment. So often we rely on bone alignment to get into our poses and just relax our muscles. It’s important to isometrically flex (flexing muscles without movement) in poses so that your muscles do not fatigue and build muscle memory over time.
- Ice your knees after a heated yoga practice. Heat can cause inflammation (this happened to me!). I always ice my knees after a regular AND strenuous practice now. I use the KT Tape Recovery+ Ice/Heat wrap system ($39) that can be left in the freezer when not in use.
- Lift your legs above your head! Any chance you can get into legs up the wall/Viparita Kirani pose, do it! I find a blank wall, bring my spine to the floor and prop my legs up the wall. This reduces pressure on your knee and hip joints and gives them some space to relax.
- While sleeping, use a knee pillow. This will prevent your knees from knocking into one another and also relieve pressure on your spine if you’re a habitual side sleeper. We recommend Cushion Lab‘s knee pillow. It comes in two sizes and has been a lifesaver for us.
- Keep the knee over the ankle. You will encounter a lot of bent-knee poses in yoga. Pay close attention to where your knee aligns in relation to your ankle, particularly in Warrior poses and lunges. Do not let the knee move forward past your ankle, as this puts pressure on the front of the joint. Ideally, in these poses, your thigh and shin should meet at a 90-degree angle.
- Watch out for hyperextension. It’s fairly common to hyperextend the knees and elbows, opening the joints too far backward. It’s also common to not completely straighten these joints due to their respective bone structure. And there are plenty of yogis who fall right in the middle. If your knees tend to hyperextend, however, pay attention to your alignment in straight-legged poses. Make sure to engage your muscles when moving into, holding, and releasing each posture. If you’re not sure whether you are hyperextending the knee joint, ask your yoga teacher.
- Point the knee in the same direction as the foot. The knee joint isn’t really meant to twist. It may give a little, but cranking the knee in unnatural and unhealthy positions is asking for trouble. Whether you are in a standing pose, squatting, or sitting with bent legs, take note of which direction your foot is pointing. Your knee should be pointed in the same direction. If you are in Yoga Squat, for example, and your feet are perfectly parallel but knees are pointing toward the corners of the room, you are probably putting undue pressure on the joints.
- Flex the foot. When in Pigeon pose, Easy pose, or sitting cross-legged, there’s a window for you to open the knee joint too much. Flexing the foot on the bent leg can help protect the knee joint. Play around with this in Pigeon pose. You will feel a difference in your knee when you point the foot versus flexing it.
- Never use pressure on the knee joint. This is especially true in Tree pose. When you bend your knee, always place the sole of the foot above or below the knee on the standing leg, never on the knee joint. The knee is a hinge joint with a limited range of motion; it’s not meant to move side-to-side. Placing your foot directly on the knee puts lateral pressure on the joint, and this is definitely something you want to avoid. When you practice yoga, or participate in any activity for that matter, listen to your body. If you experience pain, your body is telling you to back off—so listen. If aware of an injury, pain, or anything that doesn’t quite feel right, don’t be afraid to tell your yoga teacher before class. They can help you modify poses to prevent further irritation or injury. The healthier your knees are, the happier you will be.

KT Tape RECOVERY+ Ice/Heat Wrap System
Injury Prevention Off The Mat
Most recovery or injury prevention programs take a multi-faceted approach so that you can cover more ground and increase the likelihood of being injury-free. Knees are one part of the body that are used every day, without compromise. That is why it’s important to address any imbalances or potential injuries.
One way you can do this is by protecting your knee with a knee brace. The best knee brace for your situation may not be the best knee brace for another individual’s situation. So make sure you choose one that will support you in your daily life. These devices can be worn to both prevent injuries and protect your knees from being re-injured.
Make sure to give yourself adequate rest between sessions on the mat if you feel like your knees are becoming irritated or inflamed. It’s always best to trust yourself and take a step back even if that means your practices’ progression may stagnate. The goal of yoga is not to progress as fast as you can, it is to progress at a rate that allows you to do so safely!
We hope this short guide has given you the tools you need to strengthen your knees and prevent injuries. By maintaining a personalized practice that focuses on strengthening your weaknesses, you will undoubtedly make the progress to take you from a beginner to advanced yogi. Namaste.
If you found our yoga poses for stronger knees article helpful, please share it on Pinterest. Thanks for your support!
Thank you for visiting today! If you found this encouraging or informative, please connect with us on Instagram or TikTok. Sign up for our monthly newsletter for updates and more. We promise we won't spam you! Feel free to unsubscribe anytime. If you're a brand and want to work with us, please visit this page to get in touch.

aabella aabella
Thursday 24th of February 2022
Hi,
I just discovered your website and read some blogs and I can’t stop myself from contacting you and giving you a big Thumbs Up for the quality work that you’ve been doing.
I am also writing about (PHYSIOTHERAPY) these days and I’ve written an article on the topics
I’ll be very honoured If you post my article on your blog. Please let me know what you think, I can send the article today.
Best Regards, Bela Watson